Page 2 of 19
Posted: Thu Jun 25, 2009 5:02 pm
by rob0r
The car is currently being gutted of rust and filled with fresh metal.
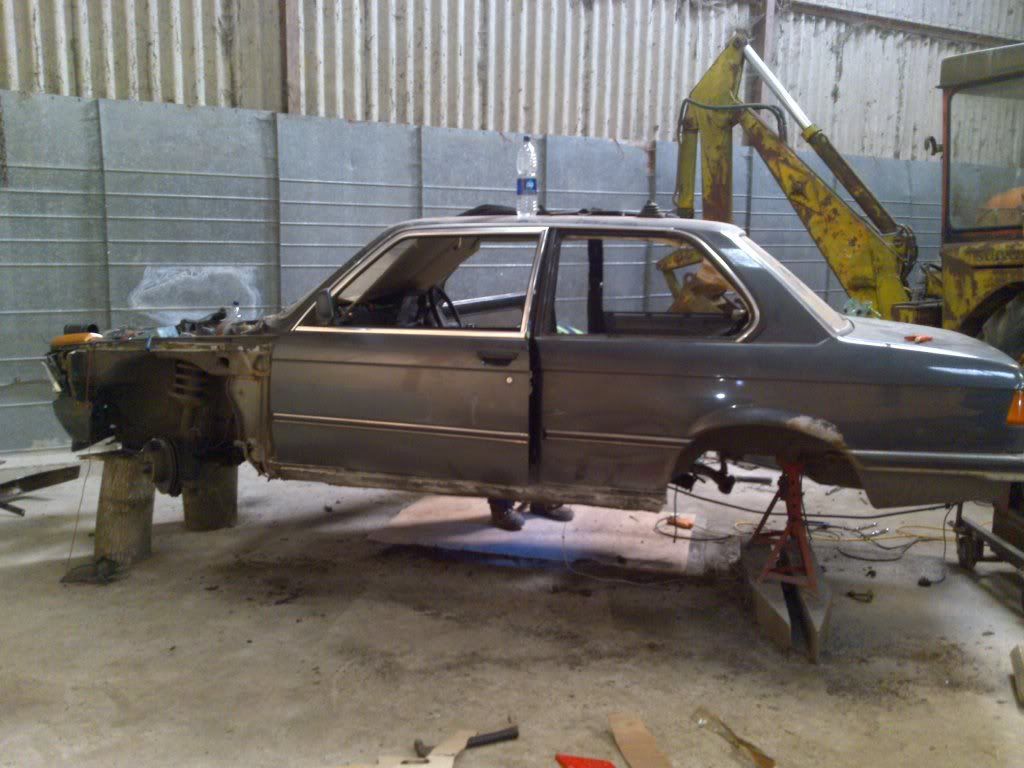
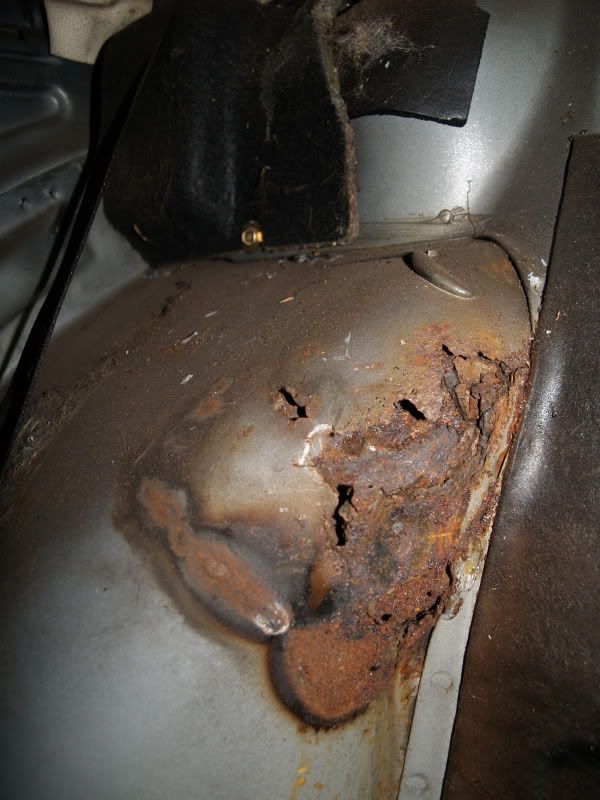
New outer sill panels have arrived, but the inner sills/floorpan need loads of attention. Big hole
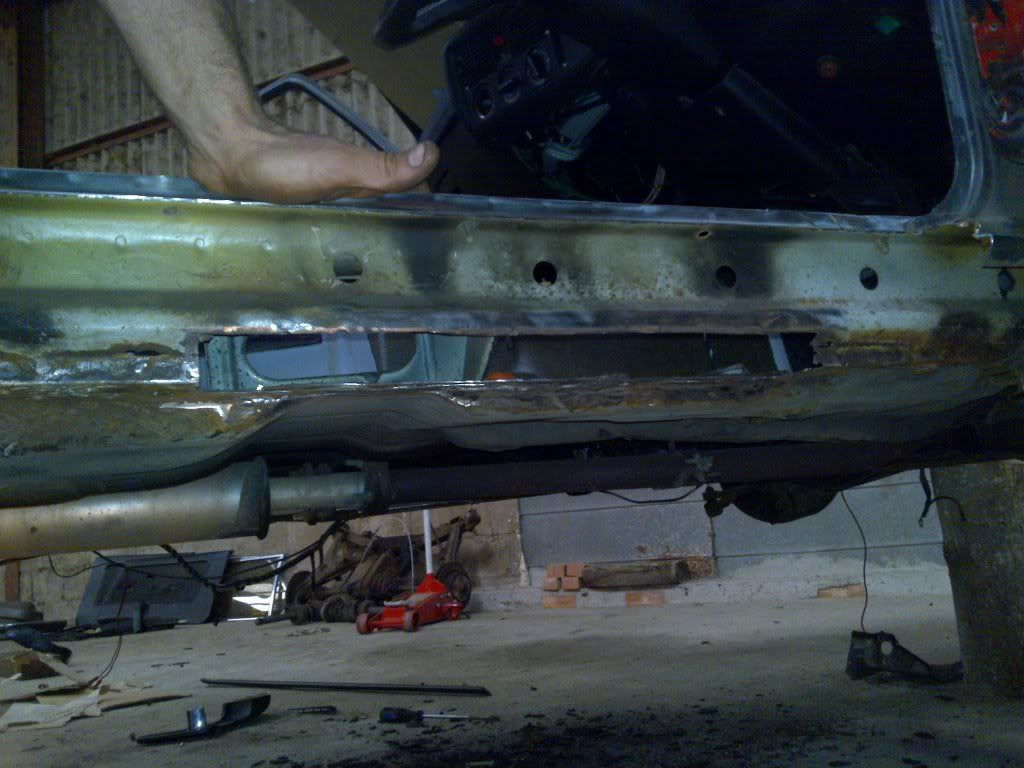
No hole
Posted: Thu Jun 25, 2009 5:25 pm
by e21-Mark
Good stuff. Are you gonna paint it or just have a rat look e21?
Posted: Thu Jun 25, 2009 5:34 pm
by rob0r
I'll blend in the repairs, thats all I'll be bothered about! I like patina.
Posted: Thu Jun 25, 2009 8:27 pm
by murran
cool stuff and nice welding there.
looks like more work than orginally thought then?
Posted: Fri Jun 26, 2009 5:41 pm
by rob0r
Not really, pretty much anticpated the worst.
Posted: Fri Jun 26, 2009 6:14 pm
by --ALPINA--
This is gonna be a rollercoaster for a restore.. keep the pictures posted, would be interesting
Also can you send me your mates number regarding the tank transfer pipe guard we spoke over the phone the other day.. so i could arrange to go to him...
Cheers
J
Posted: Mon Sep 28, 2009 6:05 pm
by rob0r
Update: Sills, chassis legs, rear strut tops and inner wings repaired. As previously mentioned I swapped a rotton mini clubman with my friend if he did most of the welding on the car, I'm glad he did as I'm not the welding king and I have no time, at all. Here it is anyway, to quote him...
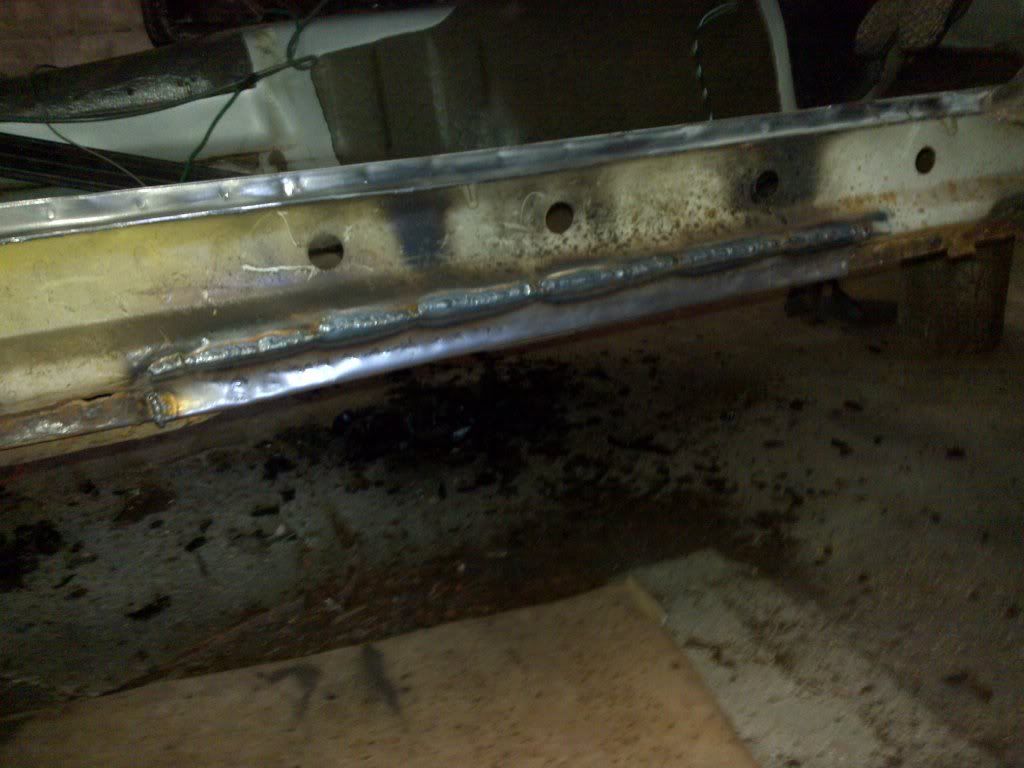
so its had sills, most of the inners and outers and strengtheners.....
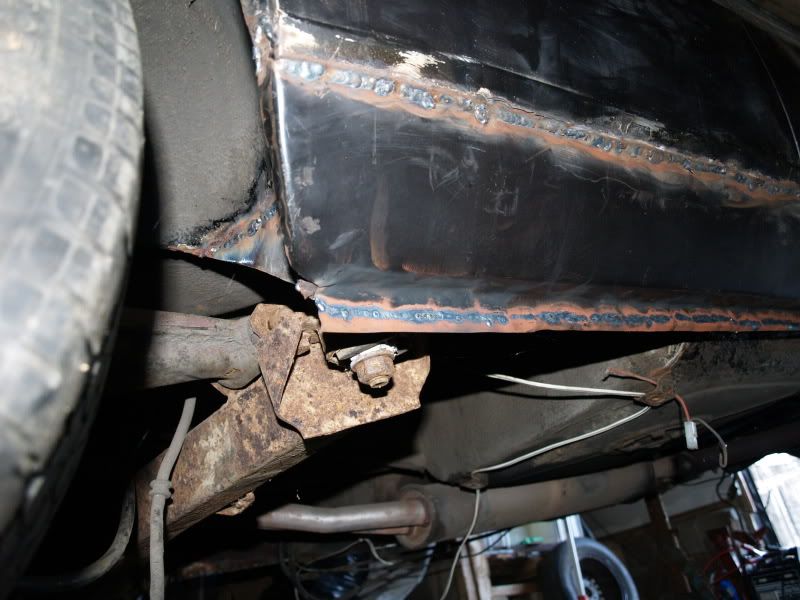
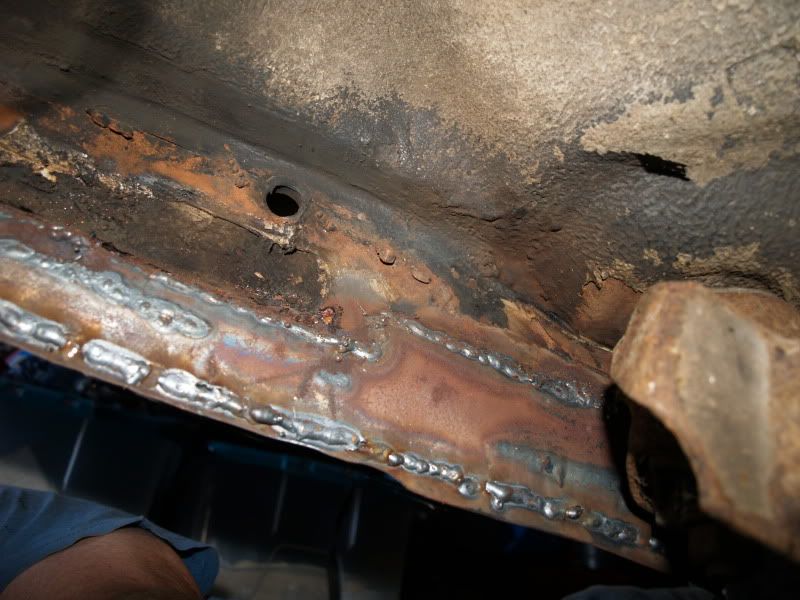
butted the sills on just under the lower swage for a good fit and seam welded for strength.
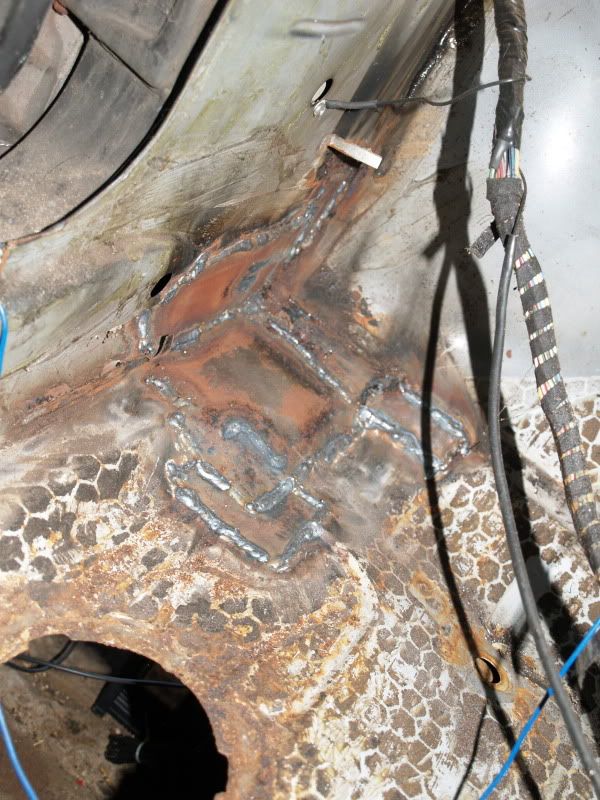
thats the rear inner under where the petrol tank lives
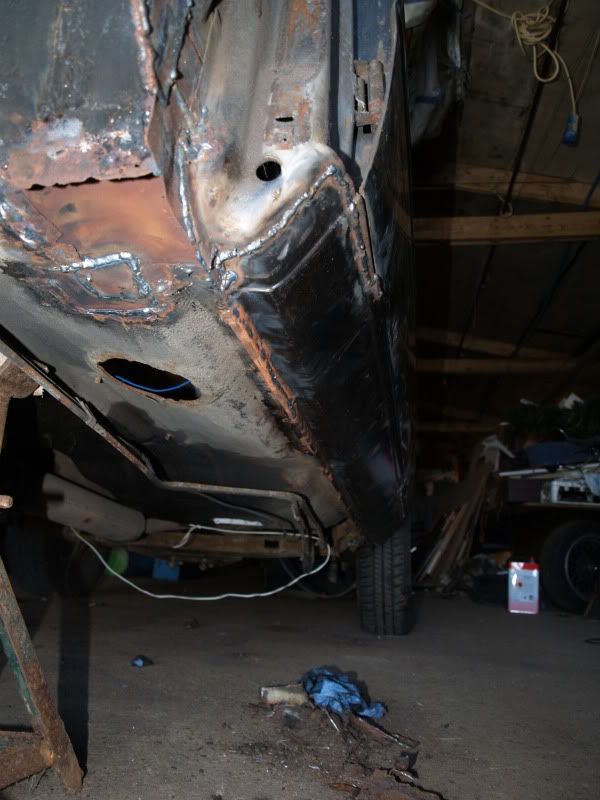
both front floorpan/A-posts look like this now.
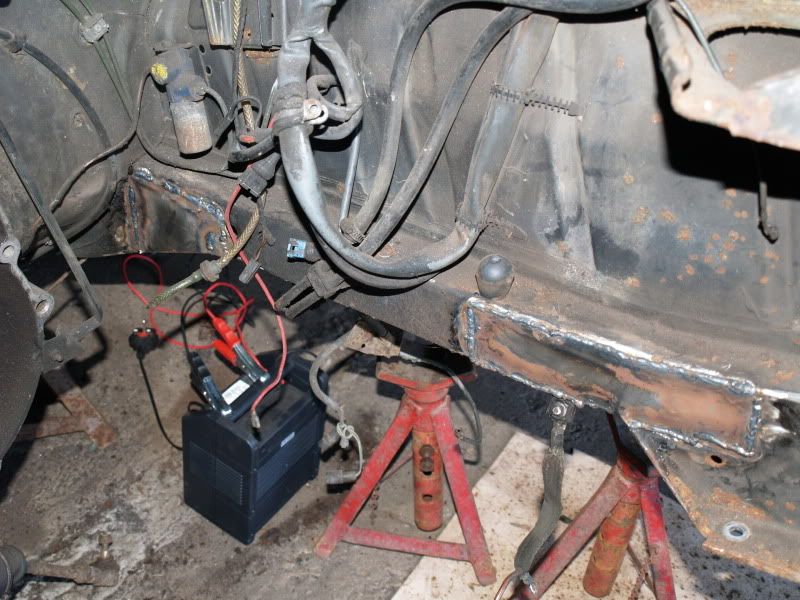
some chassis leg action.
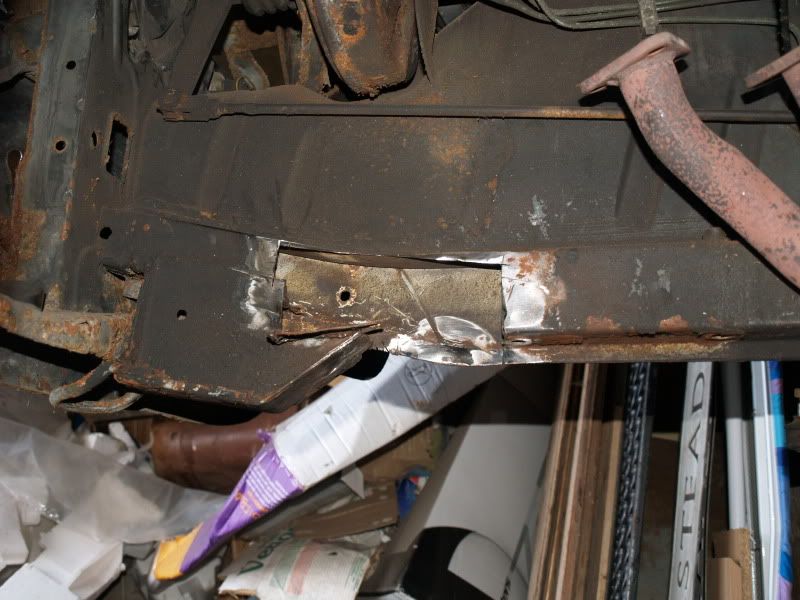
theres something missing here....
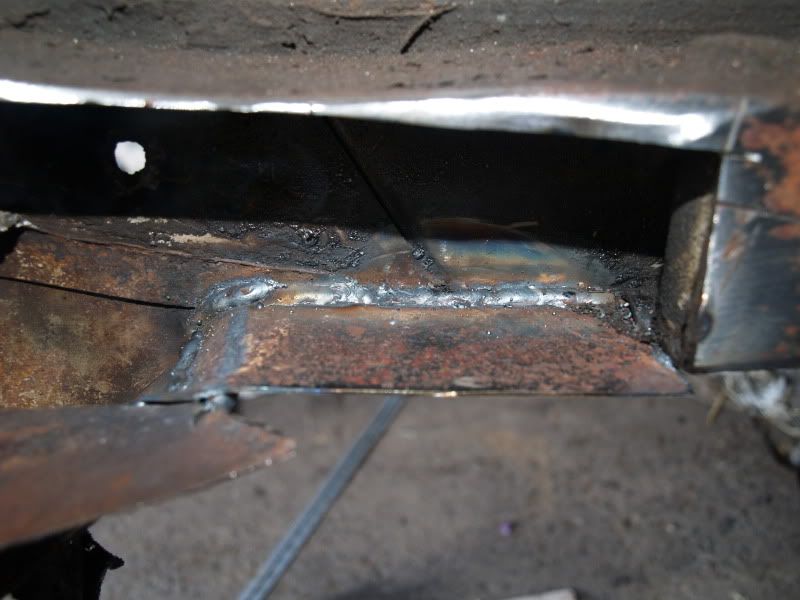
stuck in some sufficiently thick plate in, welded inside and out. its the side of an old forklift


all buttoned up tonight
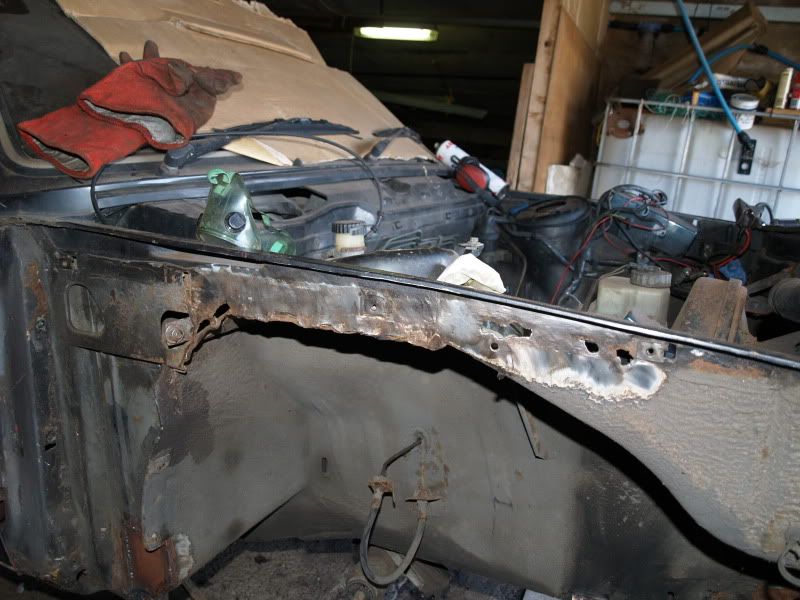
flitch panel/drip rail was fecked too ::)
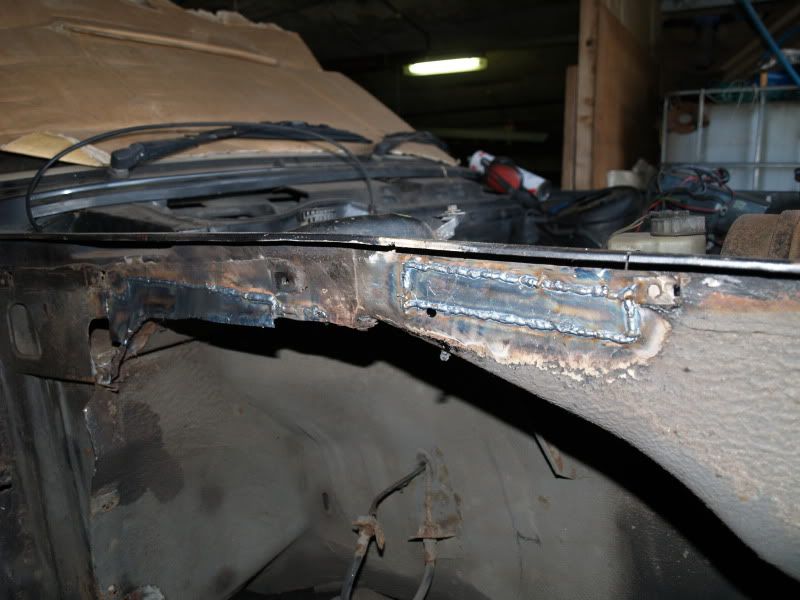
not any more. other side only needed a small repair
Posted: Mon Sep 28, 2009 6:07 pm
by rob0r
If I ever get a spare 5 minutes I'll be stuffing my M50 in.
Posted: Mon Sep 28, 2009 6:30 pm
by e21-Mark
Good work.
Your pal deserves a medal.

Posted: Mon Oct 19, 2009 7:58 pm
by rob0r
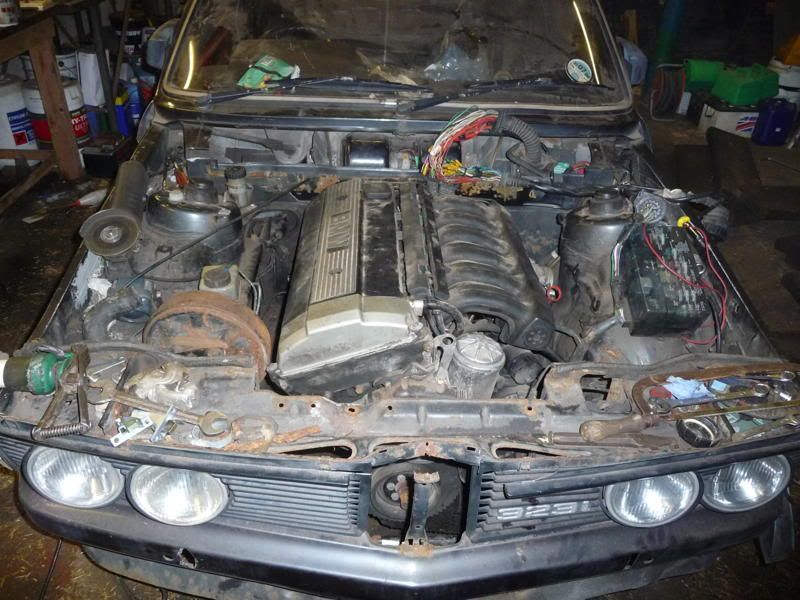
Well I got a spare 5 minutes...
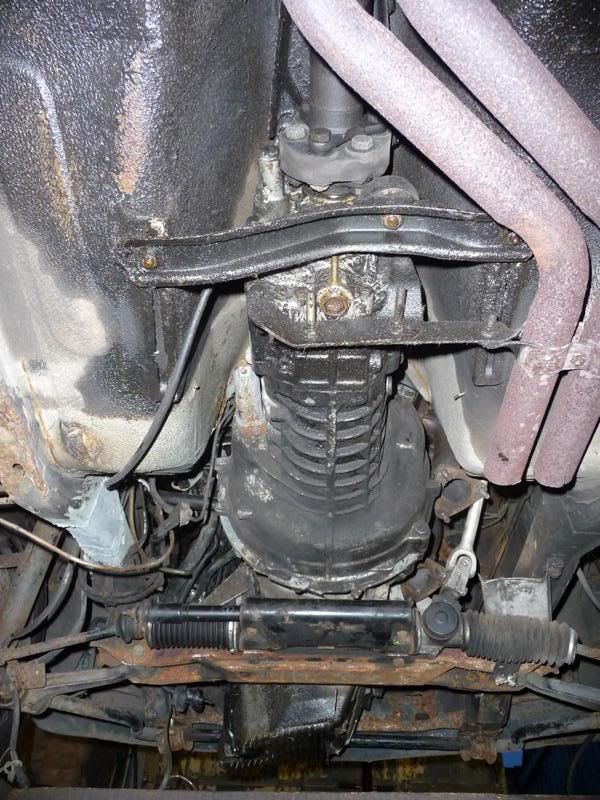
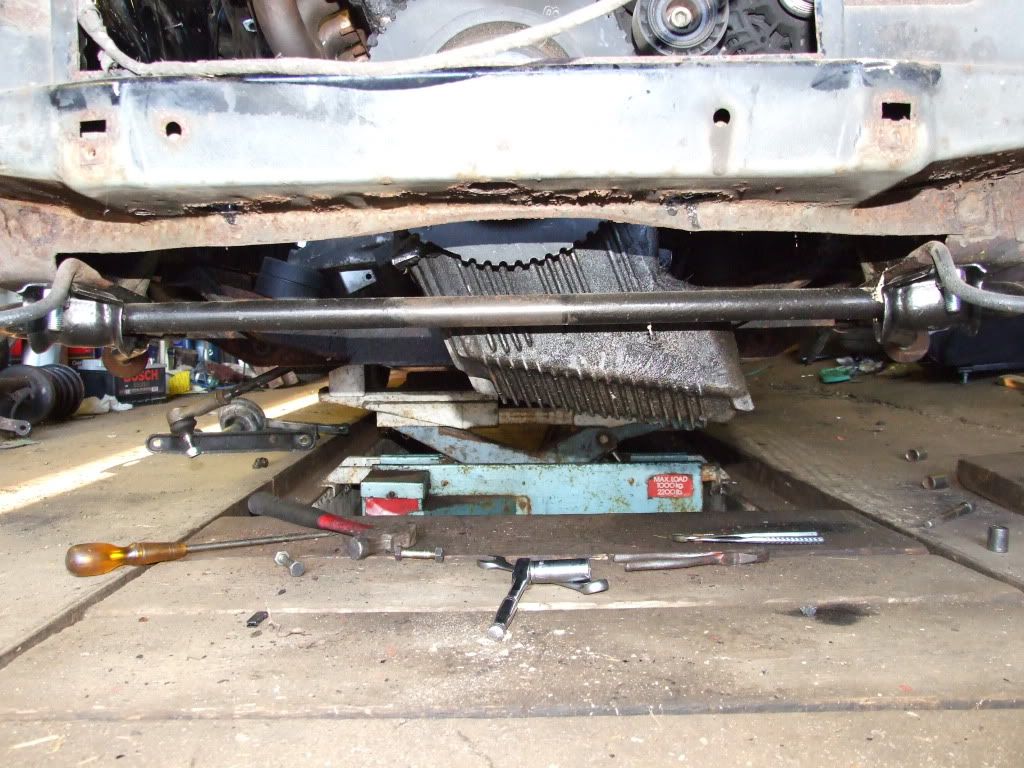
M50 bolted onto the 323i subframe with 323i engine mounts
Bolted up to the 323i transmission with no mods, no custom gear linkages/props for me
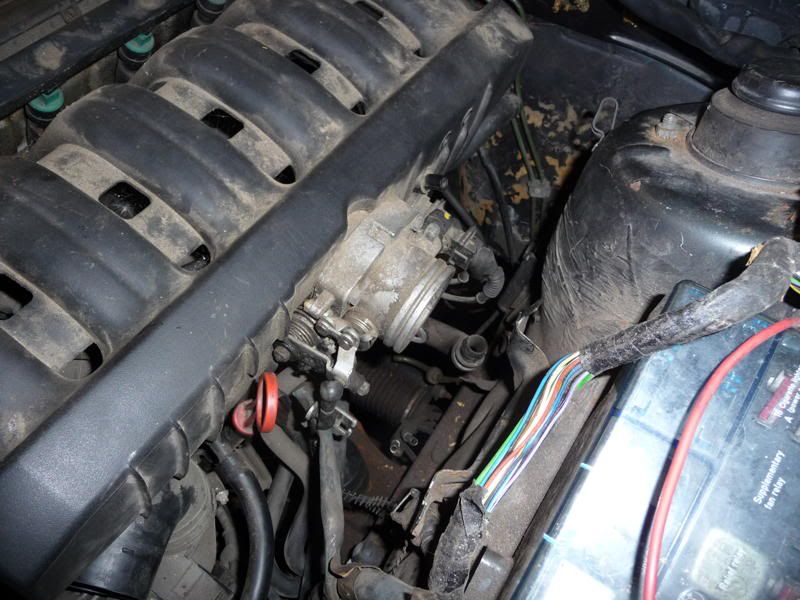
Clears the servo, and not in shot the 328i exhaust manifolds
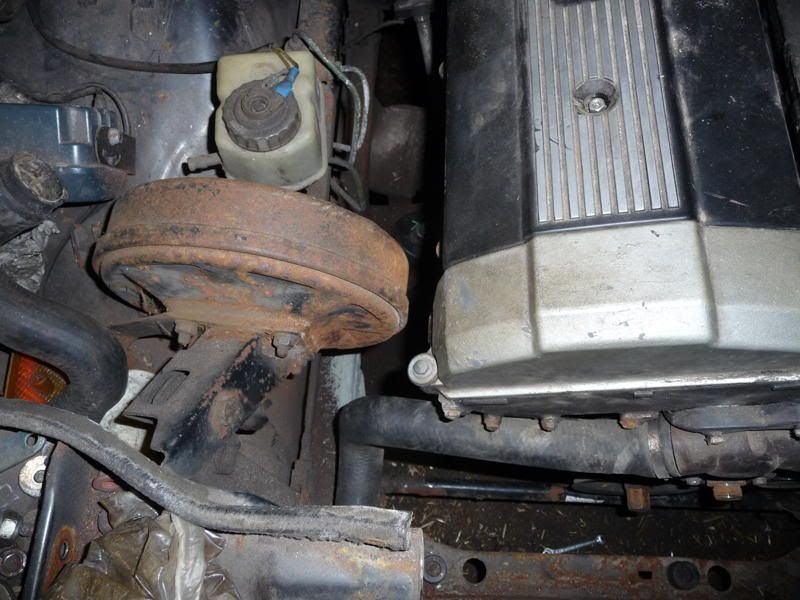
One of the areas needing attention, but I have a few ideas.
This was when the engine was bolted into my 316. The other area maybe needing attention
Exhaust clearance
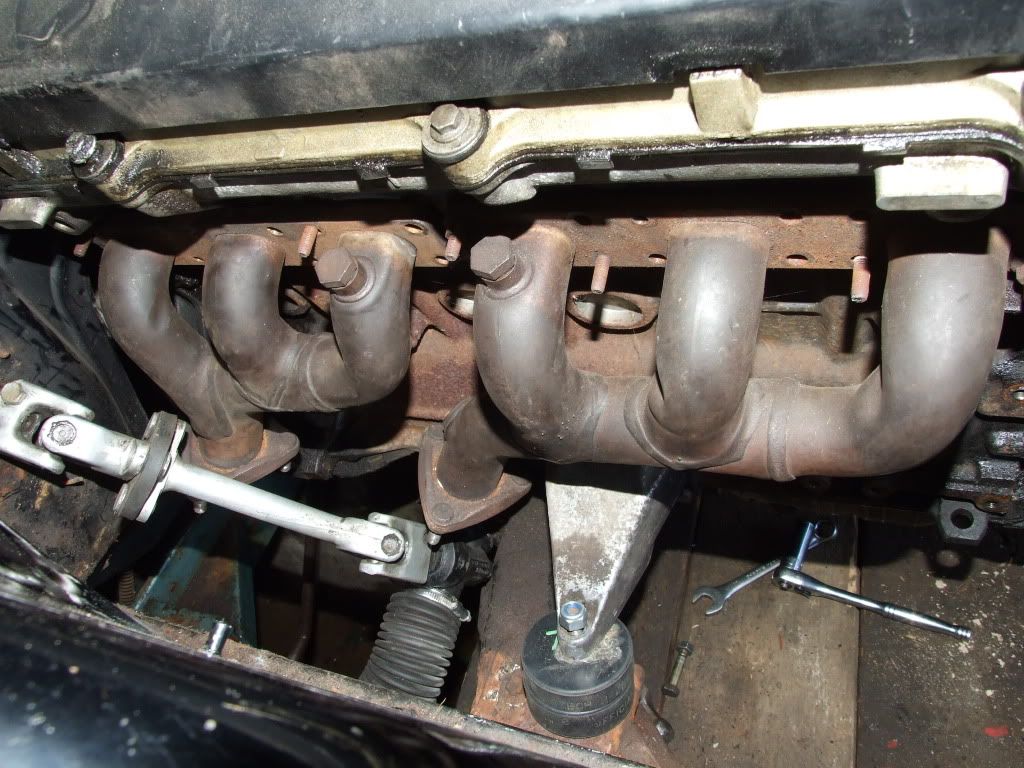
Happy? Yes.
Posted: Mon Oct 19, 2009 8:30 pm
by e21-Mark
Excellent!!

Posted: Mon Oct 19, 2009 11:43 pm
by Silver Surfer
Quality! Well done Rob!
Posted: Tue Oct 20, 2009 12:17 am
by Andriuz
Well done job!
Posted: Tue Oct 20, 2009 2:21 pm
by Jason_323i
rob the v8 throttle body has a bend in it which may help
Jason
Posted: Tue Oct 20, 2009 2:44 pm
by rob0r
Interesting Jason I'll look into that. I have had nasty thoughts cutting through the inner wing and boxing up the MAF and air filter in between the inner wing and wing....