Page 2 of 10

Re: Pastelblau 520/6 (fitting recaro's)

Posted: Sun Jul 19, 2015 6:25 pm
by BertjeConti
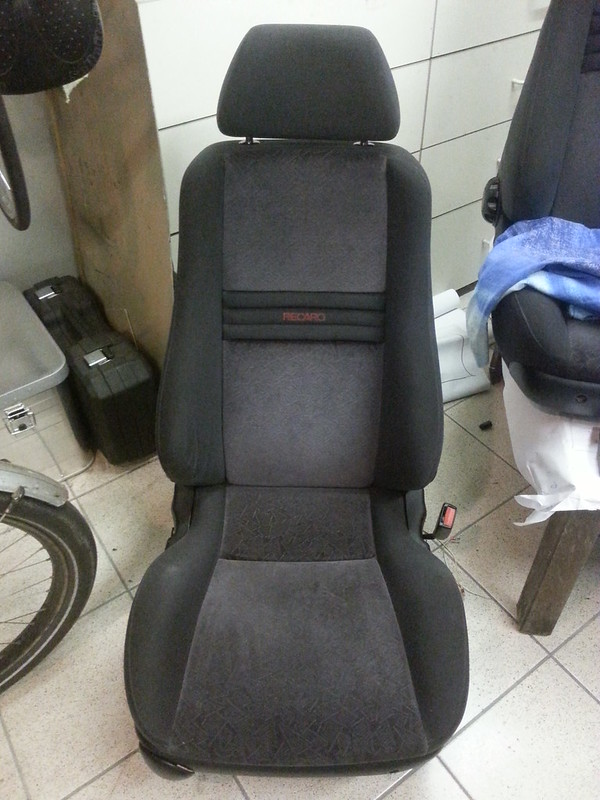
Recaro seats

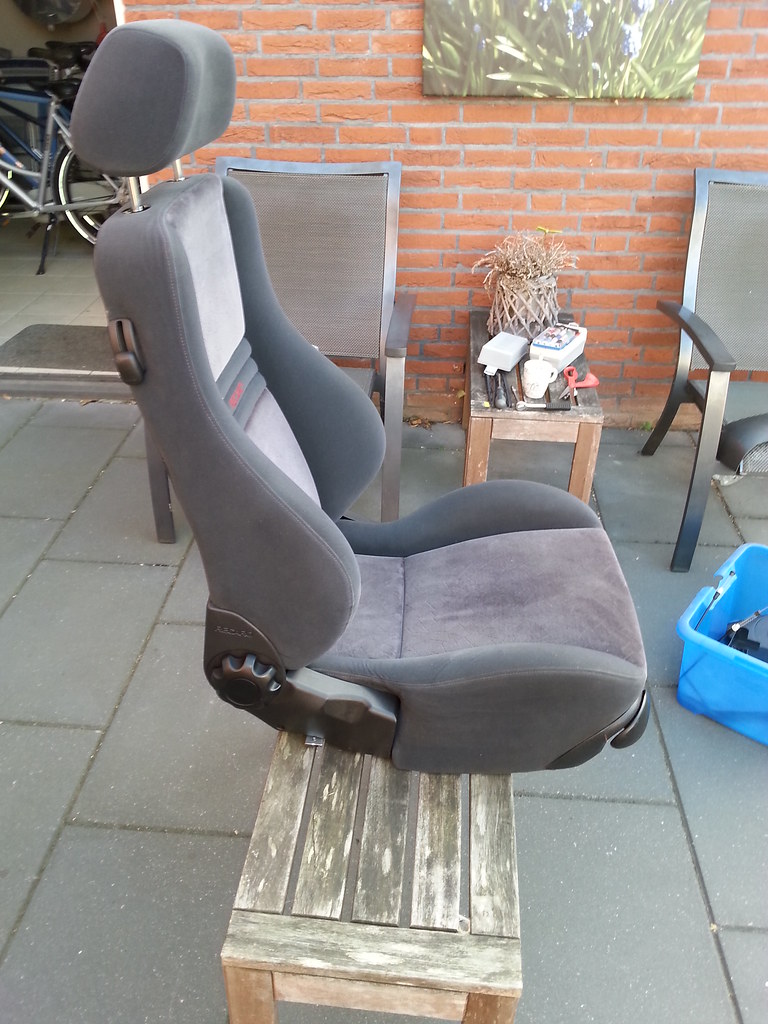
Last week i purchased a set recaro seats, not originaly E12 because they are rare, expensive and dificult to get. Goal is th get good seats in the car for comfortable long trips, without getting a painfull butt.

The seats came from a ford escort and therefore they weren't a direct fitt. upholstery is OK but not matching ofcourse, only the bolsters from the drivers seat are collapsed and need repair.
Maybe i'll make new upholstery for these seats with matching cloth, nice winter project.

I'll switch positions so the best seat will be the driver seat now.
Here they are:
driver:
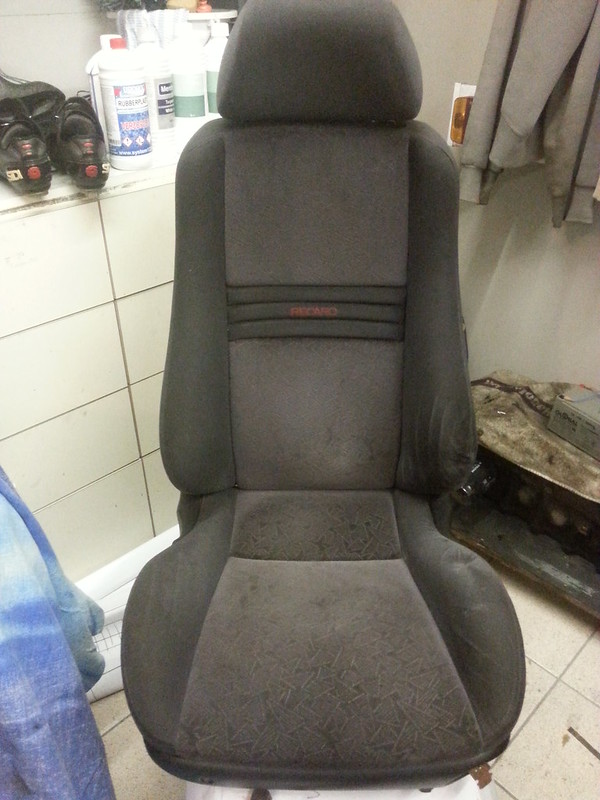
Image
passenger:
Image

After a rough cleaning i dismantled the seats, because some modifications are needed to fit them on the rails in the E12.

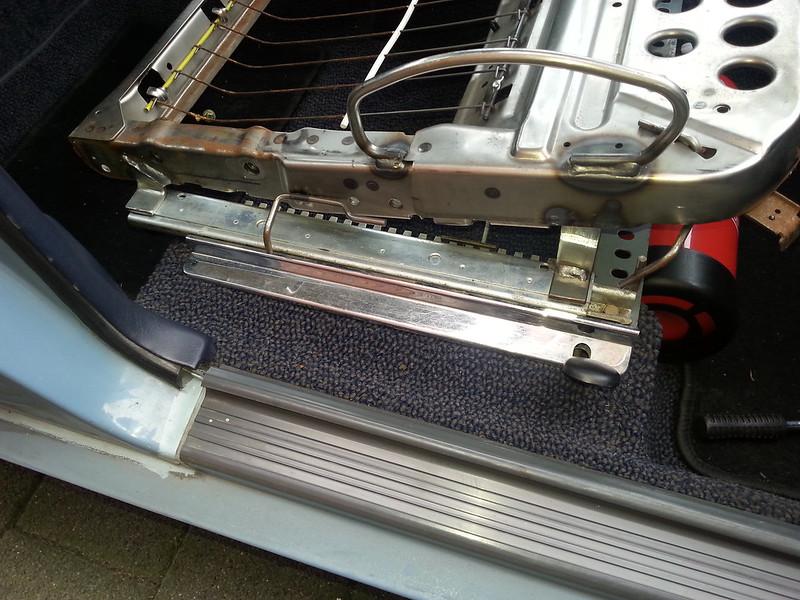
first thing i did was some weight shedding. The rails, seatbelt lock assembly and height adjustment motor and assembly weren't needed anymore, so they're binned (15kg scrap metal)
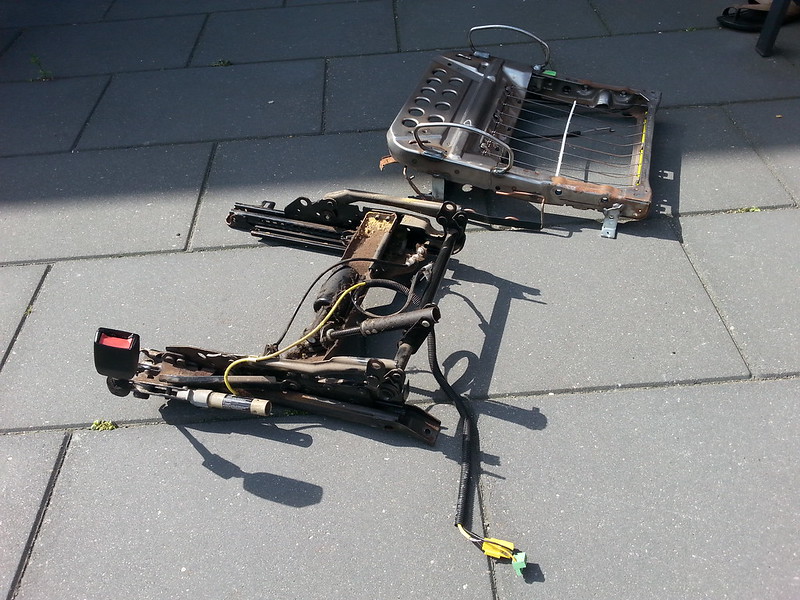
Image

then i started to fabricate new brackets for bolting the seats to the rails, first attempt was a littebit to high:
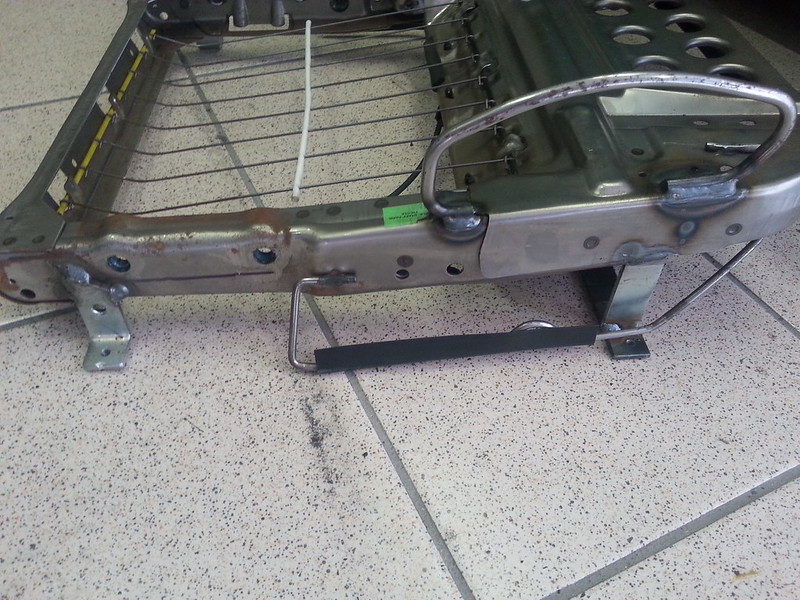
Image

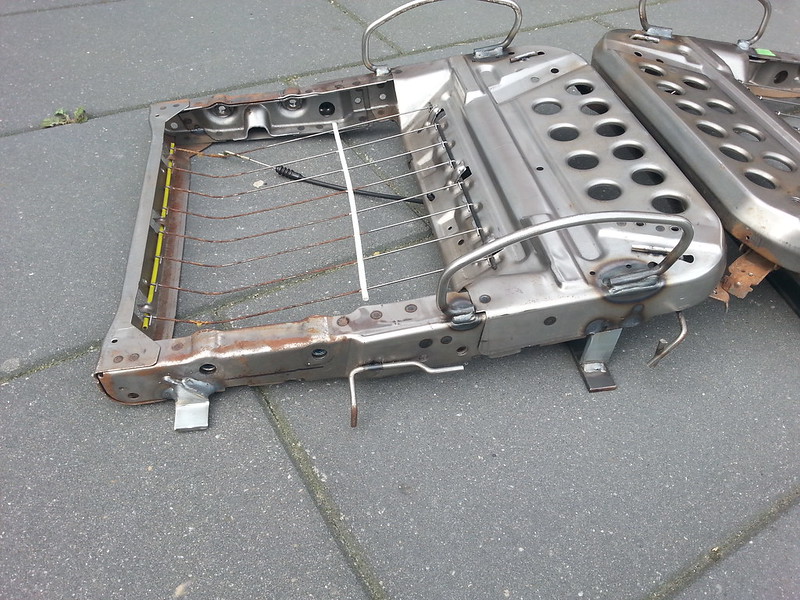
So i did a second attempt to make the brackets such a way the seat is as close down to the rails as possible in the right angle
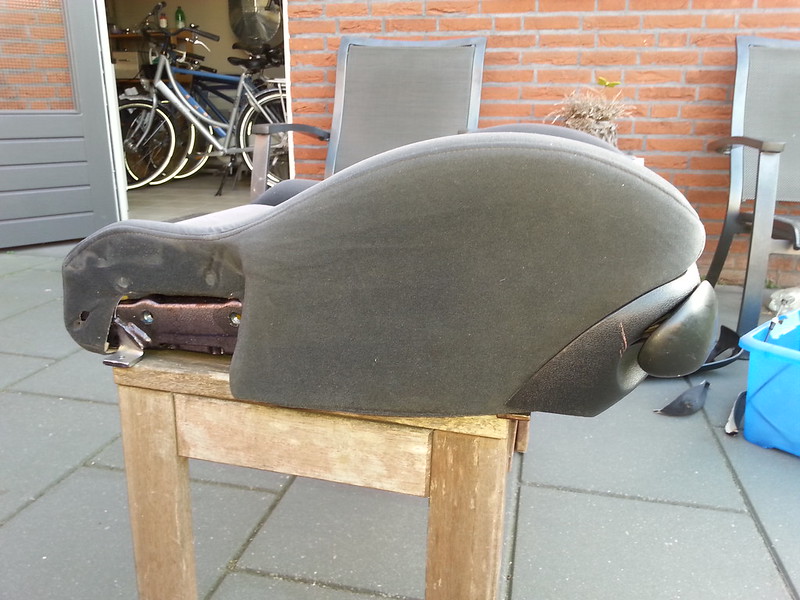
This ment that more modifications are nessesary, the brackets that hold the upholstery at the sides needed shortening, upholstery itself needs shortening and the plastic trimming at the front and sides need a litle rework.

Shorter mounting brackets:
Image
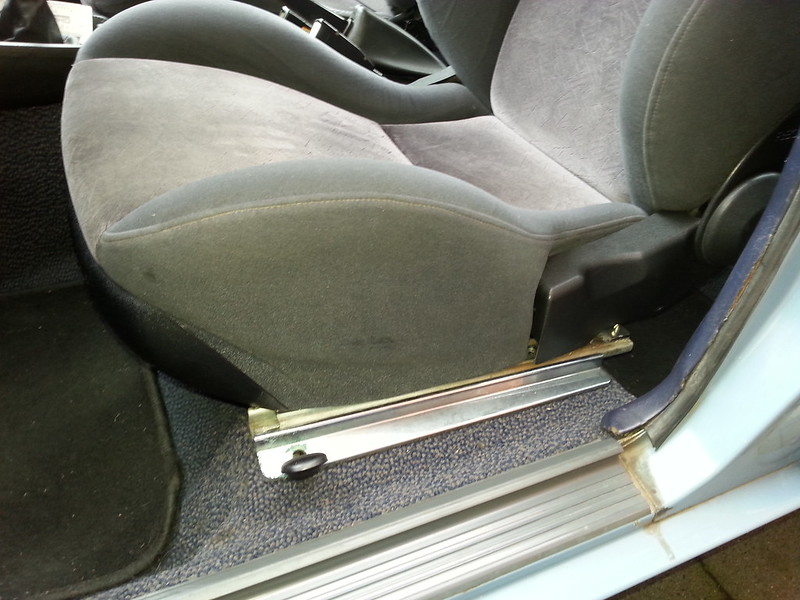
test fit on rails:
Image

After that i've drilled the mounting holes and threaded M6 thread.

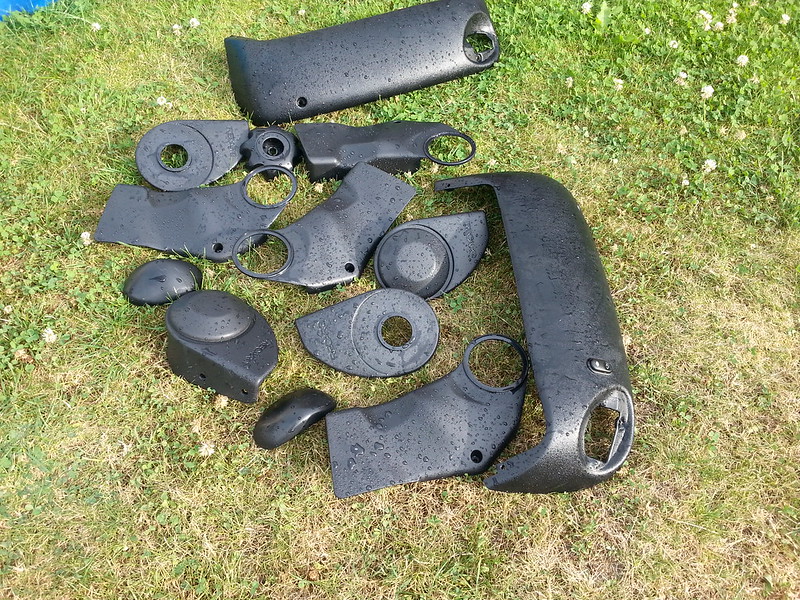
Washed the plastic trimming parts:
Image

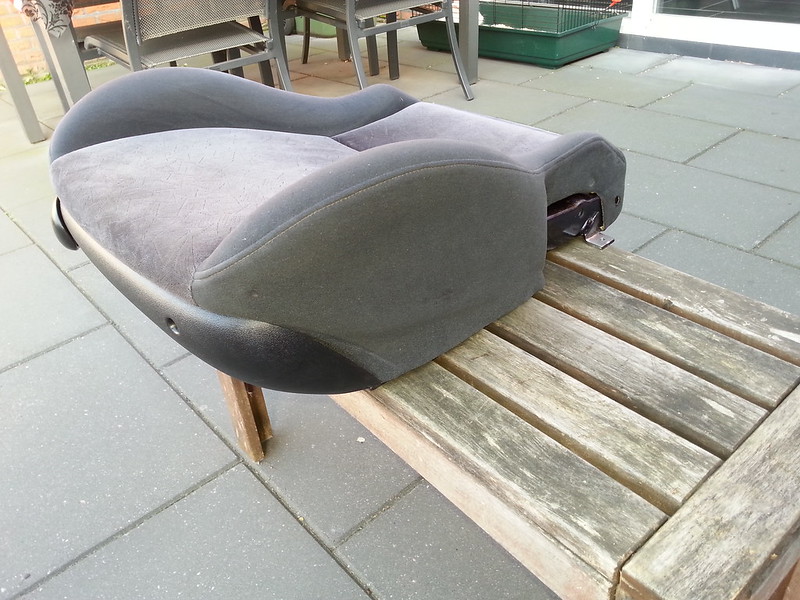
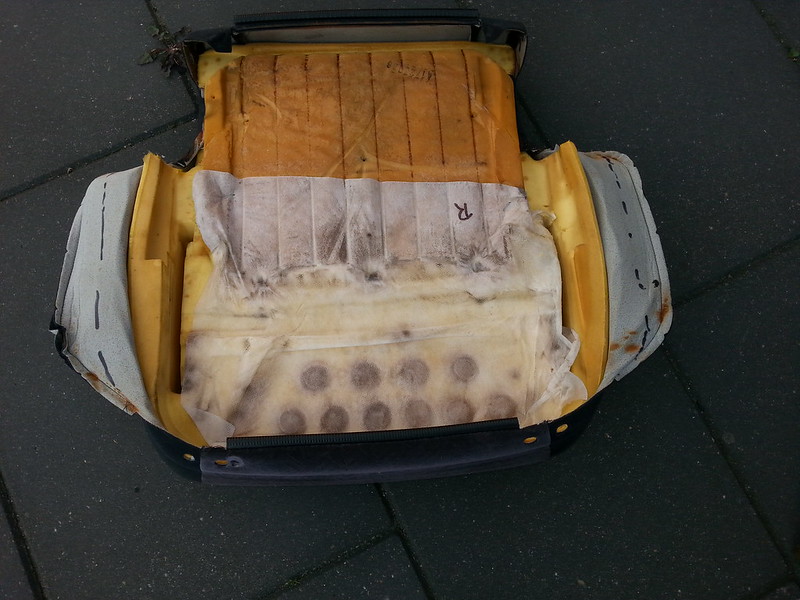
adjusted the upholstery holding brackets, sew the upholstery sides, and trimmed some plastic parts.

dottet lines needed restitching the seat cloth:
Image

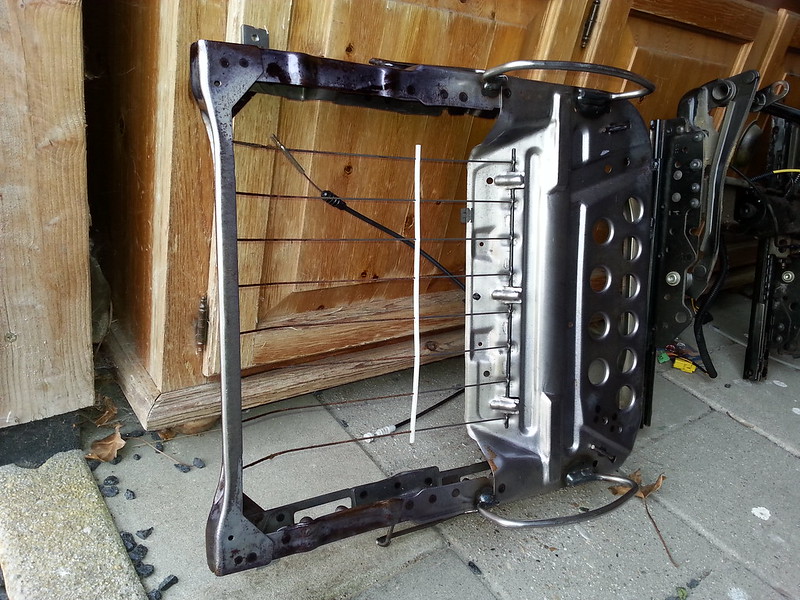
The bottom seat part had a few rusty spots which i sprayed wirh a rust converter primer:
Image

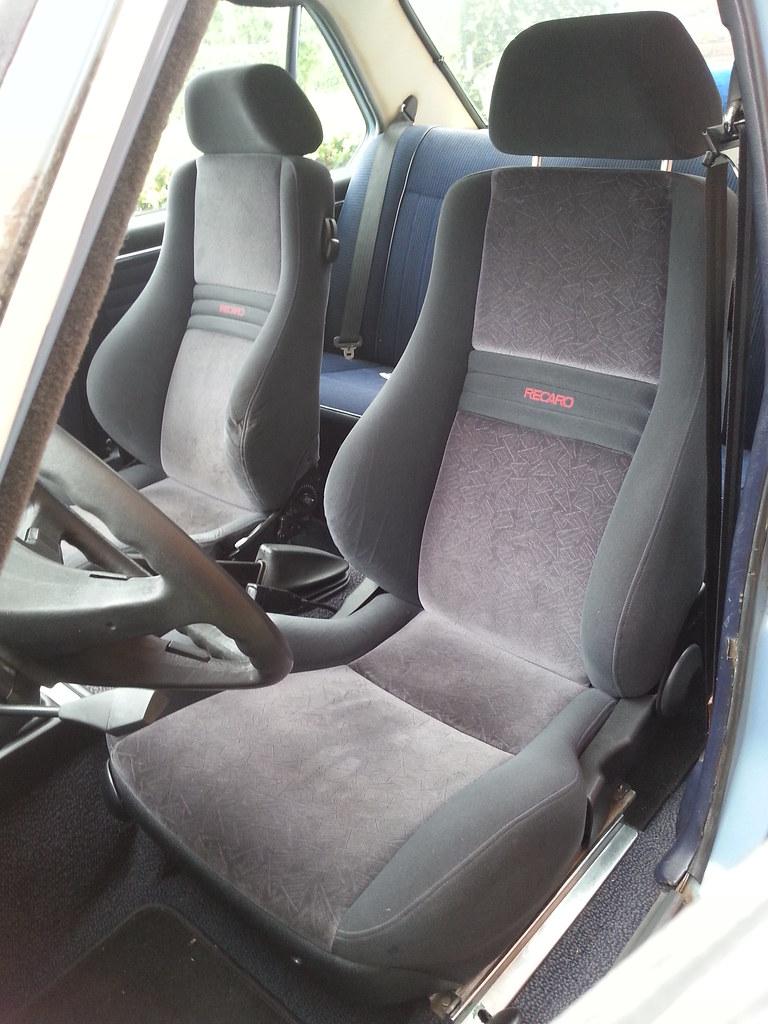
then reassembling the seats:
Image

Image

Image

And mounted in the car:

Image

Image

Then finaly made a test drive, looks lik the car corners better now :boogie :boogie

Re: Pastelblau 520/6

Posted: Sun Jul 19, 2015 6:32 pm
by uwbuurman
Great work, Rob!!

Re: Pastelblau 520/6

Posted: Sun Jul 19, 2015 7:59 pm
by bmw e12 e21
:thumbsup

Re: Pastelblau 520/6

Posted: Sat Aug 08, 2015 11:42 pm
by BertjeConti
Brake fluid flush and new springs and wishbone install

The front suspension got a little loud lately, taking speedbumps or potholes make banging noises and the rear axle suspension is as soft as an old american. Not so good for handling.
So i've ordered some parts and got to work with them this weekend.

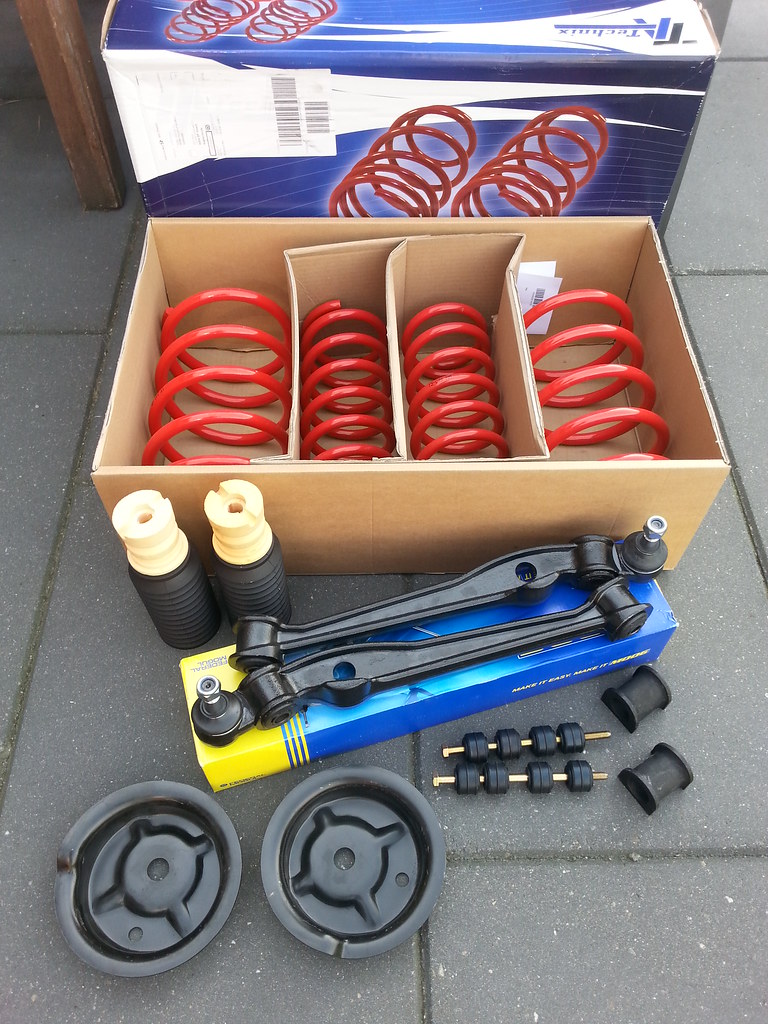
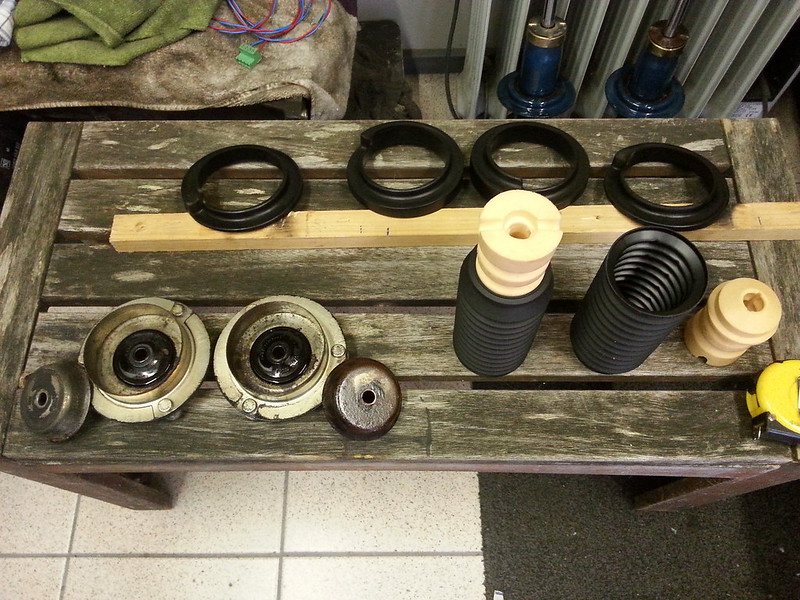
Image

New springs, bump and dust cap for the rear shocks, all rubber and bolts for the front ARB. Oh and deep upper spring plates. The springs should lower the E12 40mm but i think they don't, i'm aiming for 20mm and a little stiffer suspension. the deep spring plates add a 10mm lowering.
Also a nice moment to flush the brake fluid, because the last time i did it is already 10 year ago, that was when i spend new calipers, disks, rear cylinders and clutch slave to this E12.
The car did around 15k km since.

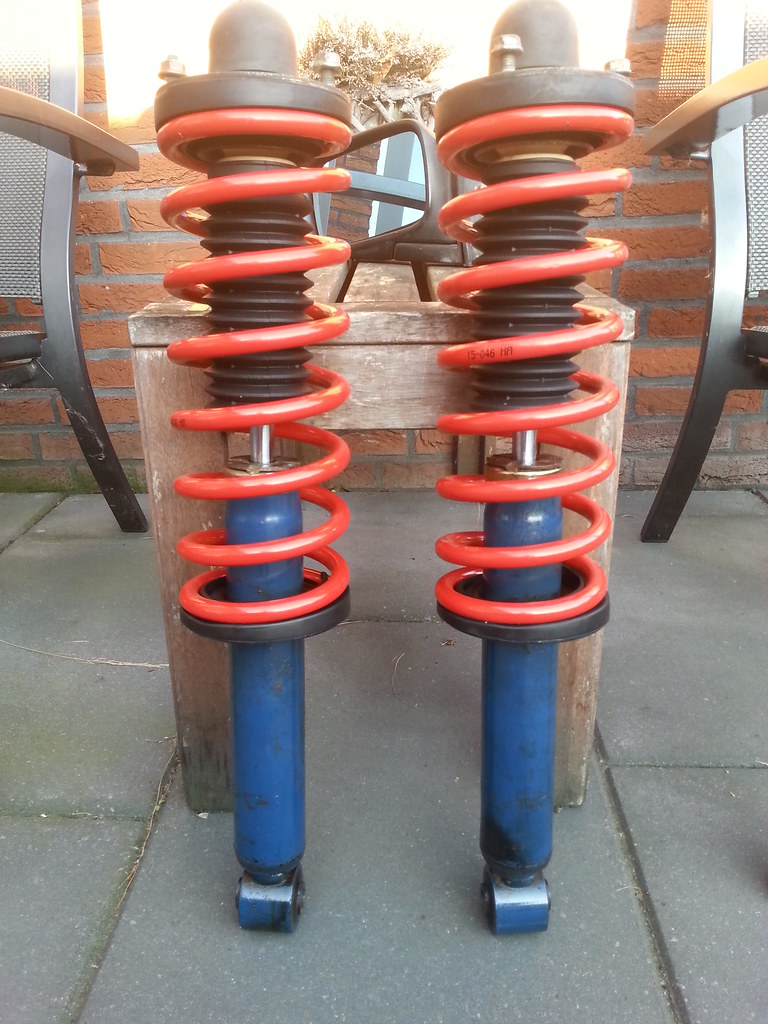
First i build up the rear shocks which were laying around in my shed for more than 10 years, they came from a donor spender and looked like they were recent replaced.
They are Monroe units, here with the new springs:

Image

Image

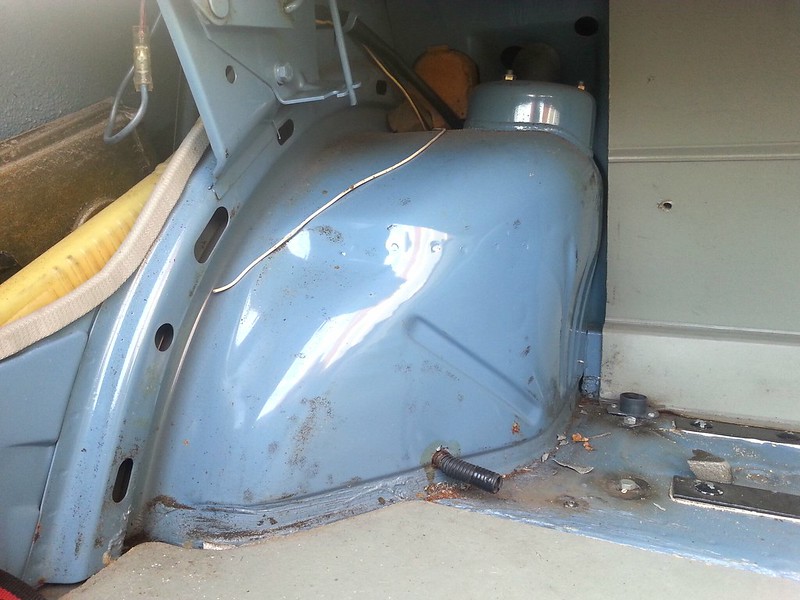
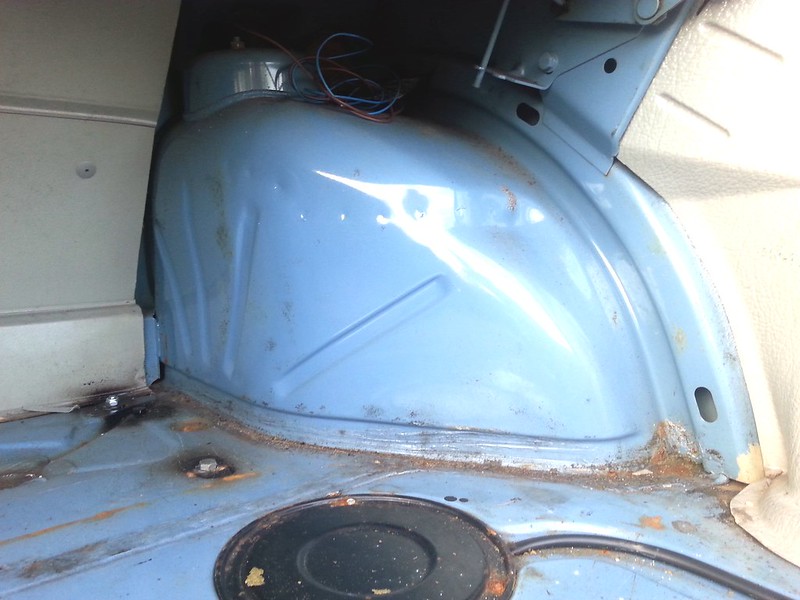
The rear wheel arch covers in the trunk came of for the first time since i own this car (2001), so it was a little exiting how the wheel arches would look, because the top wheel arches are prone to rust damage in the E12 (and not only the E12), but it looked okay for a '77 unrestored car:

left looks okay, only some leftovers from the LPG tank.
Image

right side has a little rust spot:
Image

Before flushing the hydraulice system i pumped the reservoir empty and refilled it with fresh fluid, so the old fluid in the reservoir didn't have to travel through the whole system.
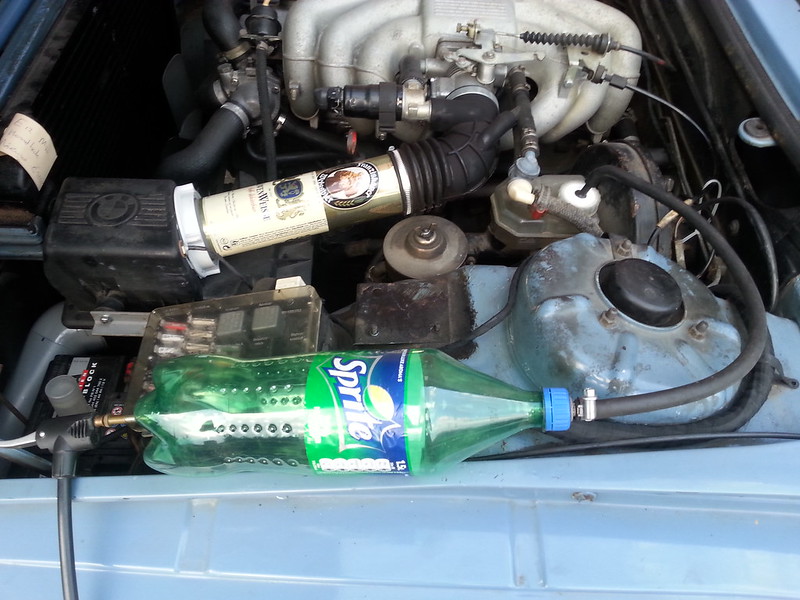
Next i've flushed the hydraulic system with help of my DIY brake flush kit:

Image

The bottle act as an air container to put pressure on the hydraulic system via the reservoir.
You'll pump air in the container with a cycle pump, 0.5 BAR is enough.
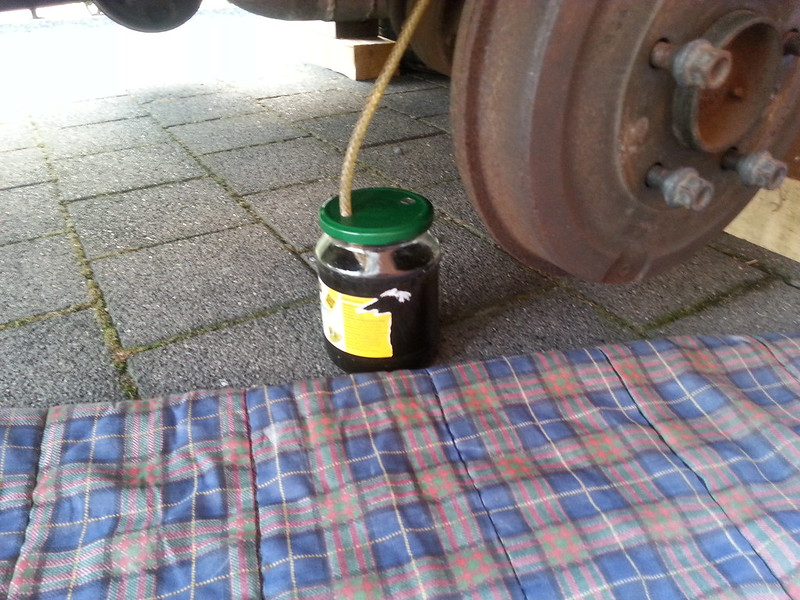
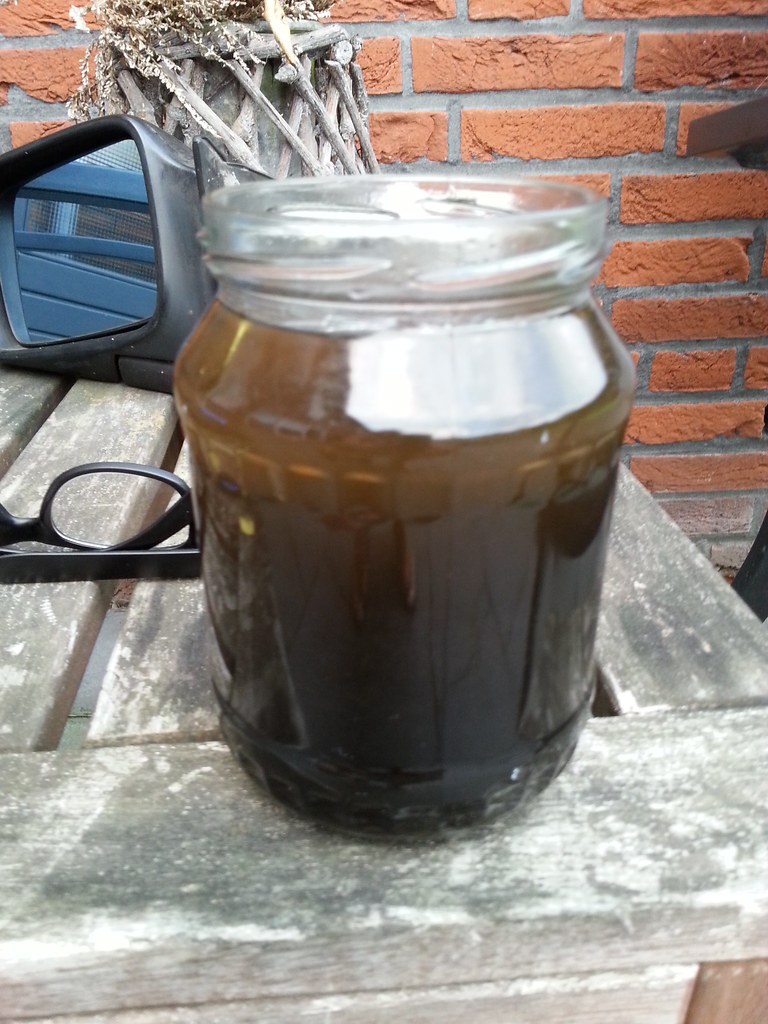
This is the old brake fluid that came out, i've used a whole liter fresh fluid to flush the system.
The old fluid was very dark, so it was about time
Image
Image


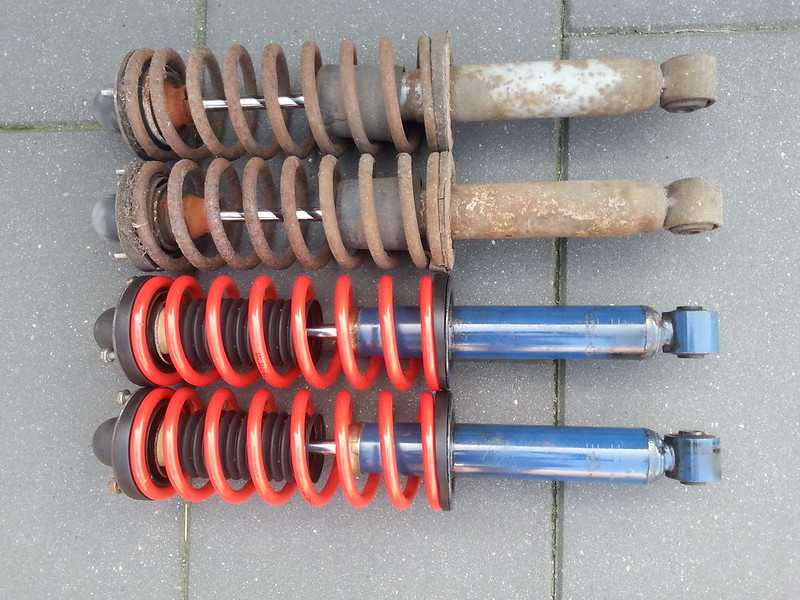
next i changed the rear shocks and springs, old versus new:
Image
The old shocks where completely shot, damping almost complete gone, thats why the cars rear felt like a big old US car :D

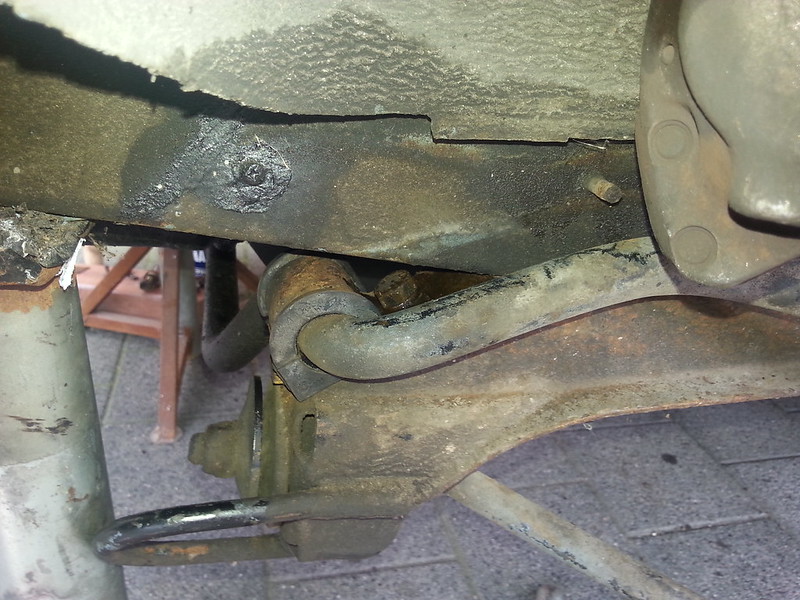
At the front axle there was a little bit more work to do, first dismantling the complete suspension and renew the ARB bushings. To loosen the clamp that holds the ARB its necessary to lower the subframe (or are there special tools?) The bolt that holds the clamp is almost inaccessible, hidden between subframe and main beams:

Image

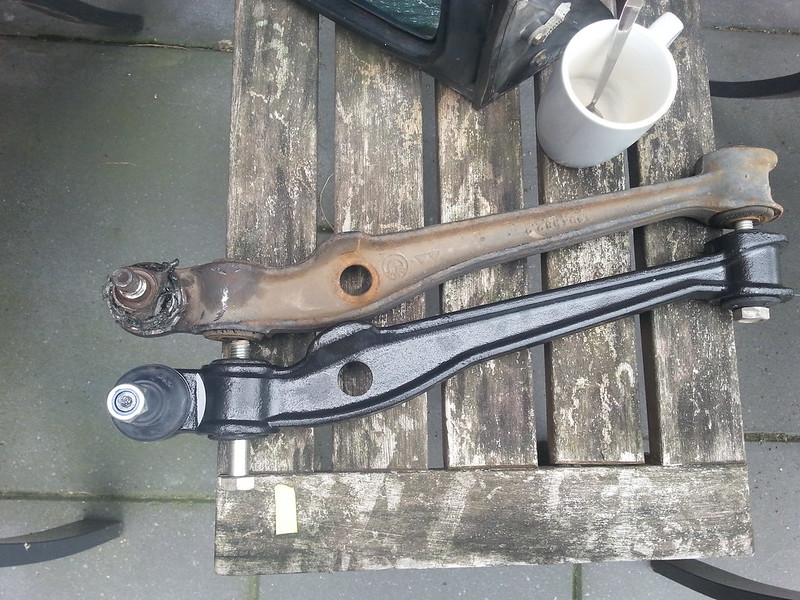
Next i discovered that the new wishbones (they are "Moog" aftermarket) are 0.5kg heavier and are 5mm shorter e_surprised , this means my track-width will decrease 10mm :evil:
To correct the toe i readjusted the track rods.. , but also the chamber has changed and thats not easy to correct.

Image

i'm now looking for a way to correct the track width, with ex-centers ??, but for now it's okay.

Next are the front struts, they came off easily, new shocks weren't needed because i renewed the shocks last year for Monroe gas units. Top bearings are okay.
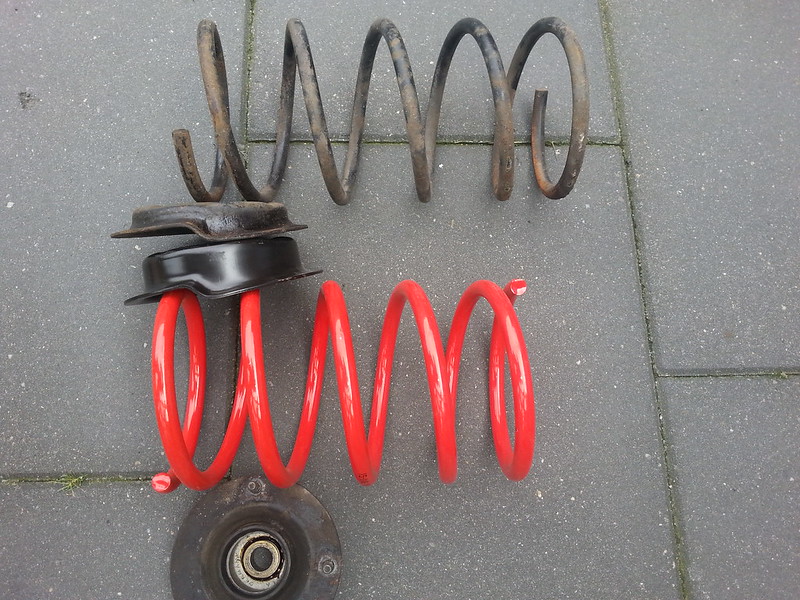
Here you see the old and new springs and the normal and deep upper spring plates:
Image

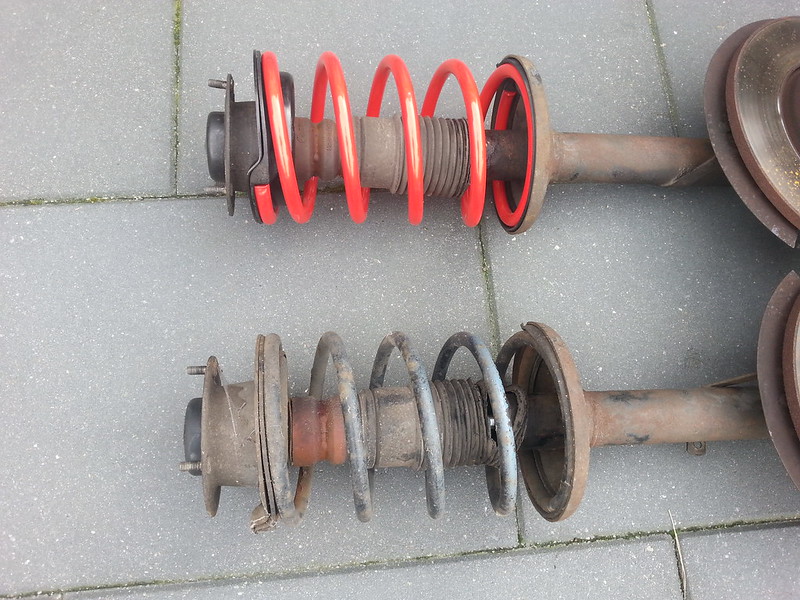
Old versus new strut
Image

All build together and took her for a little drive :D

Car now handles much much better, speed bumps an potholes are silent to take, cornering like a modern car, Yoeppeee. Suspension is much stiffer but still very comfortable. Car is around 10mm lower front and rear, but they say new springs need to seat in for 500km, so we'll see in about a month or 2

Re: Pastelblau 520/6

Posted: Sun Aug 09, 2015 9:49 am
by uwbuurman
Great work! Need the wheels reallined, I think.

Re: Pastelblau 520/6

Posted: Sun Aug 09, 2015 9:13 pm
by bmw e12 e21
Nice job!

Re: Pastelblau 520/6

Posted: Wed Aug 12, 2015 1:22 am
by Jeroen
Nice, and well documented once again!

Re: Pastellblau 520/6

Posted: Sat Aug 15, 2015 5:00 pm
by BertjeConti
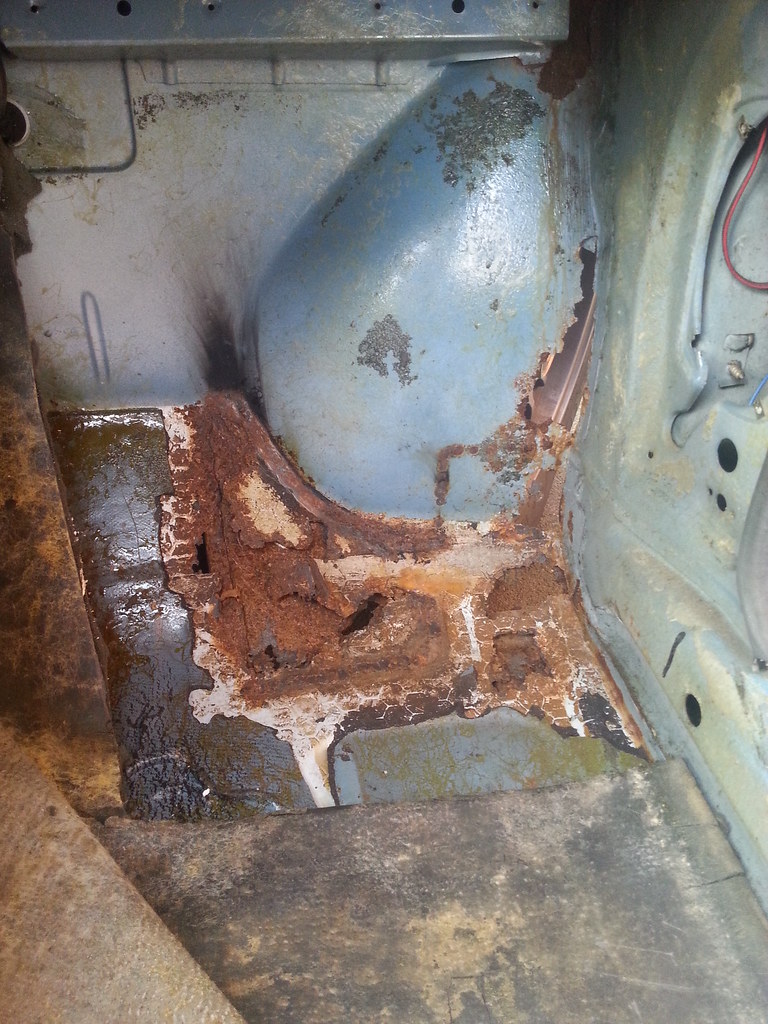
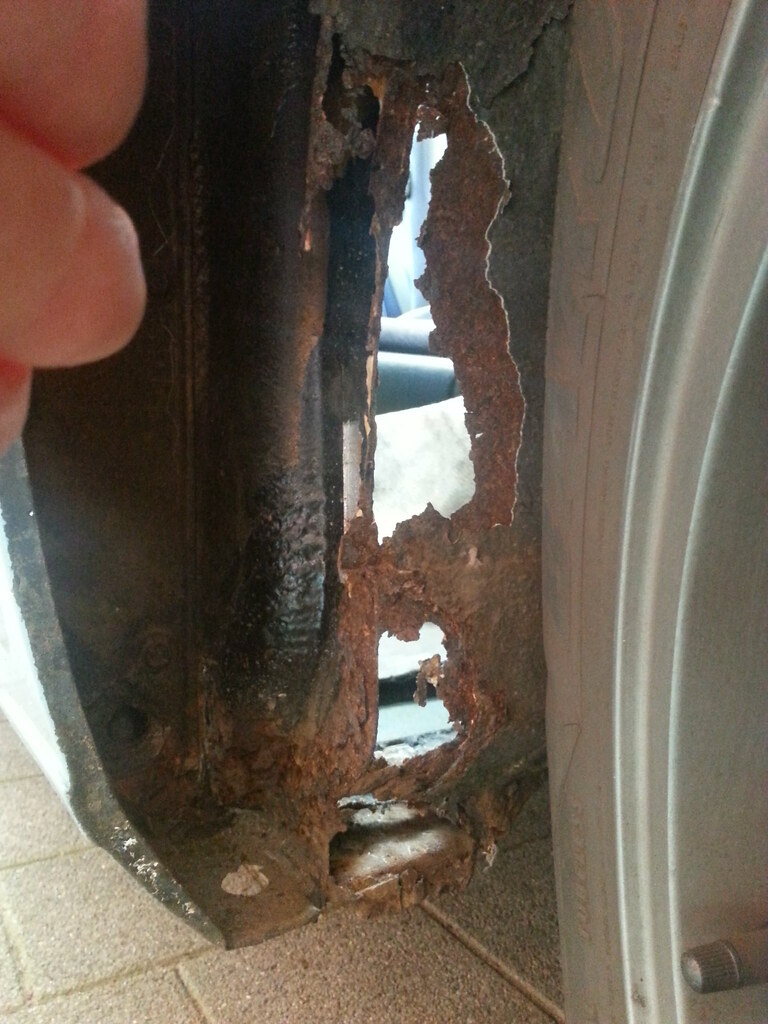
Today some sheetmetal replaced in the right side of the bulkhead-floor area.

It was done before but they didn't do a good job, it was done before i got the car, so at least 13 years ago.
they welded some sheets over the old one and didn't give it any treatment at the inside, so now it was gone again.

I knew it was a bad area, last week when i adjusted the steering arms, i pushed my pipewrench through the bulkhead and left a hole.

didn't take much pictures because i hate this kind of work

After removing carpets, insulation and so this came in sight:

Image

floor and insulation were dry as the dessert, so thats good.

and after some pulking a view from the outside:

Image

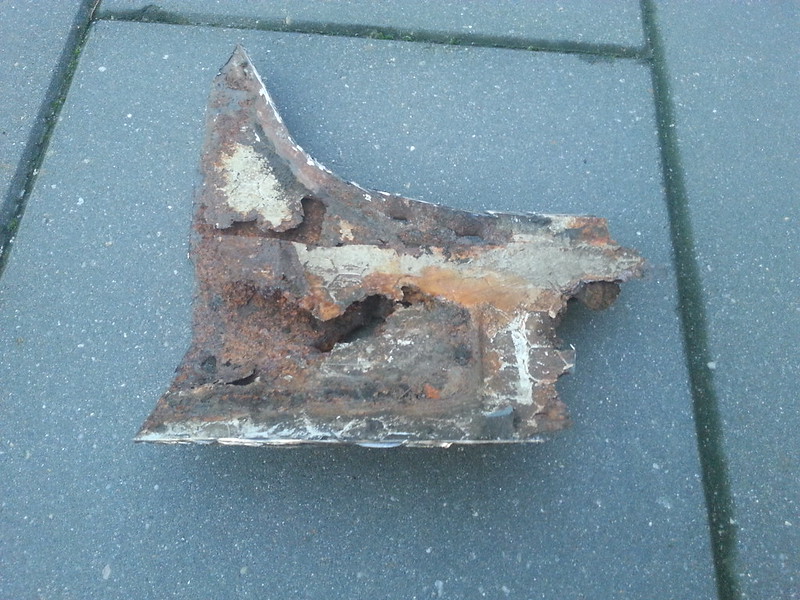
so cutting out al the rusty parts, like this double rotten floorpan piece:

Image

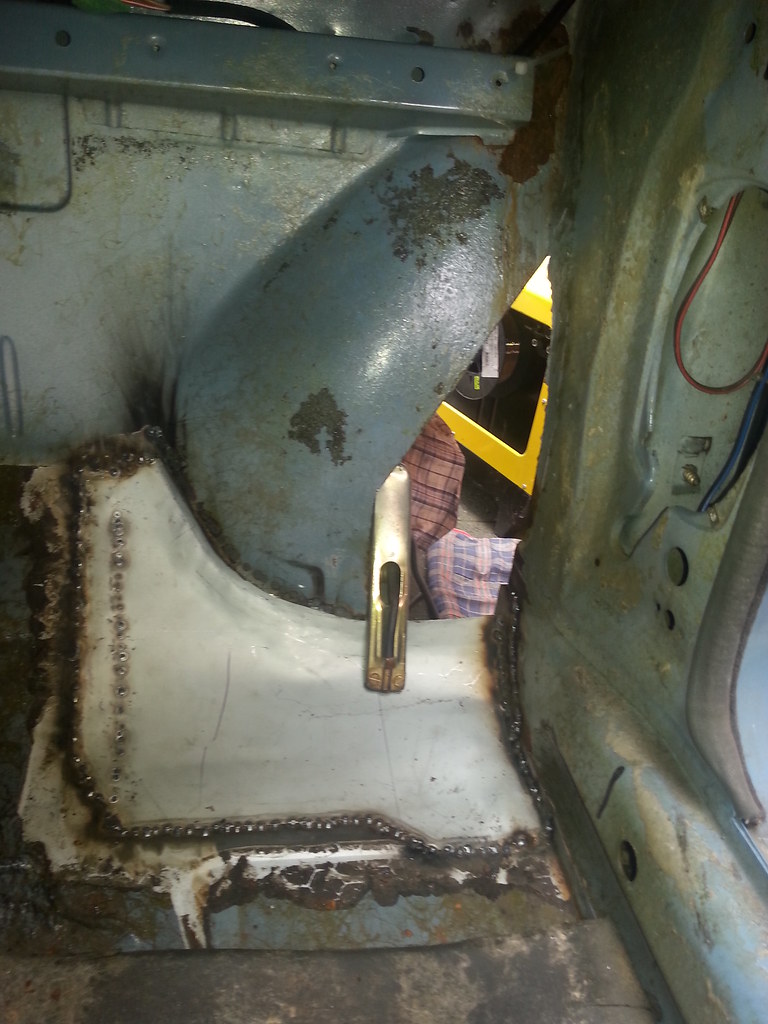
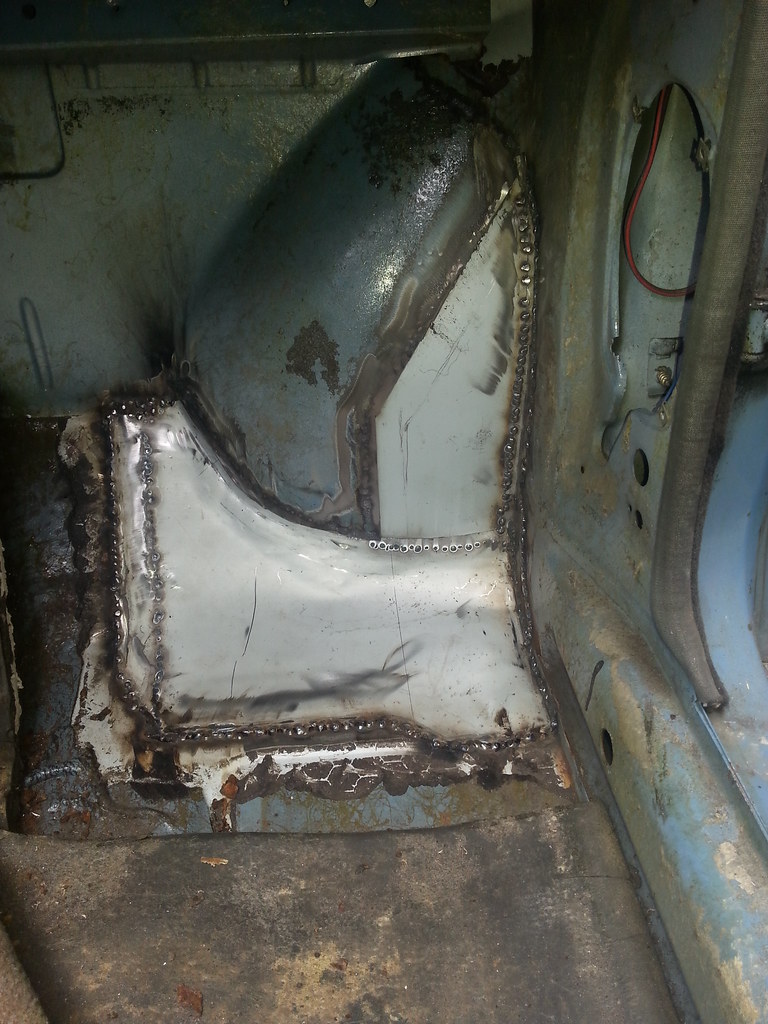
and welded in 2 new big pieces:

Image

Image

now need to apply primer, body sealant, paint and protection.

Re: Pastelblau 520/6

Posted: Sat Aug 15, 2015 5:47 pm
by uwbuurman
Looks much better!!!

Re: Pastelblau 520/6

Posted: Sat Aug 15, 2015 7:53 pm
by bmw e12 e21
You have done a good job! :thumbsup

Re: Pastelblau 520/6

Posted: Sat Aug 15, 2015 8:06 pm
by uwbuurman
Read in the Dutch part that you said sealant and coating, but make sure to coat first and than put in the sealant, Rob! If the wrong way around, than you will have rust under the sealant.

Re: Pastelblau 520/6

Posted: Fri Aug 21, 2015 1:35 pm
by pandemonium001
Good work.

Re: Pastelblau 520/6

Posted: Sat Aug 22, 2015 1:23 am
by pandemonium001
Maybe these will help the camper situation??

http://www.ebay.com/itm/BMW-E9-Coupe-E1 ... 485eb1802c

Re: Pastelblau 520/6

Posted: Sat Aug 22, 2015 9:55 am
by BertjeConti
Yes, those crossed my mind and will correct the chamber. Disadvantage is that chamberplates will add extra 10mm height and won't correct the trackwidth.
I'm looking for a way to relocate the wishbone conecting point to the subframe. The subframe needs to come of the car to do the rework. In this way i give the car extra trackwidth and extra neg chamber and the stance stays ok.
Pulling the subframe with the engine in is a major job, which i'm not happy with.

Re: Pastelblau 520/6

Posted: Sat Aug 22, 2015 10:31 am
by pandemonium001
Make adjustable bottom rose joints?

brace the engine across the strut tops and hag it from there, then just drop the subframe?