I fitted my brakes on today and thought it would be a good idea to do a walkthrough. By the way I must tell you that if you have any sort of road accident or injury from following this then its not my fault.
DONT DO THIS JOB IF YOUR CLUELESS. Pay the labour!
Step 1
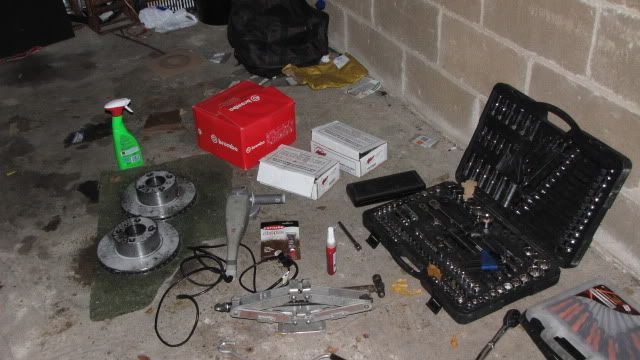
Gather tools and fittings you will need the following.
1. Angle Grinder with metal cutting and grinding disk
2. Assortment of spanners and sockets and allen keys.
3. Hammer n Chisel.
4. Thread lock fluid
5. Copper Grease
6. Some jacks / axle stands.
7. Two 10mm female fittings unions.
8. Copper brake pipe (you can use the old one if its straight!)
9. Brake pipe flaring tool
10. A friend to help you bleed the brakes.
Make sure you will have everything you need before undertaking the job as you dont really want to bugger about mid through going to the shop!
I bought new disks and gave them a spray with some spray bleach to get the oil coating off them.
Get your car in the air and remove the wheels.
Then you have to remove your old brakes and disks.
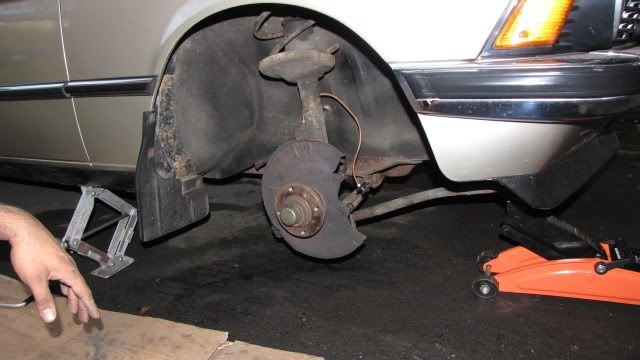
Ok now you will have to clean up the hubs - this is important.

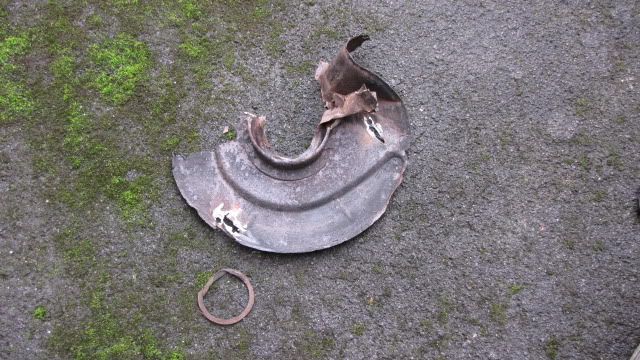
If your dust shield hasnt rusted and fallen off already then is a right pain to get off as the bolts are usually rusted - this is were the angle grinder comes in!

Once removed...
Now theres a tab under the caliper mount which needs to be removed.. Short work with a cutting disk .

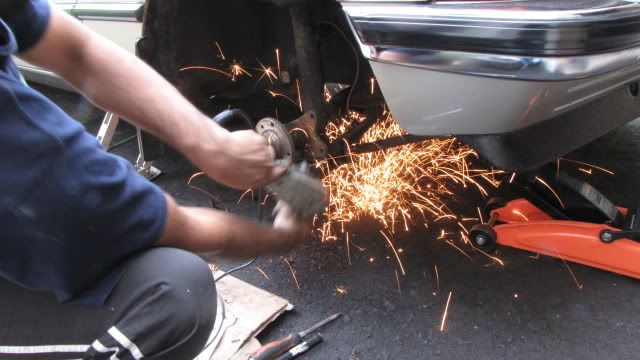
Now I found that i had to cut the old caliper bolts down because they are too long and were fouling the disks.. I suppose you could use a few thick washers but instead i decided to cut them shorter with the angle grinder - you only need to take about 3/4 threads off the end.
this then gives you a good few mm of clearence.
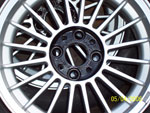
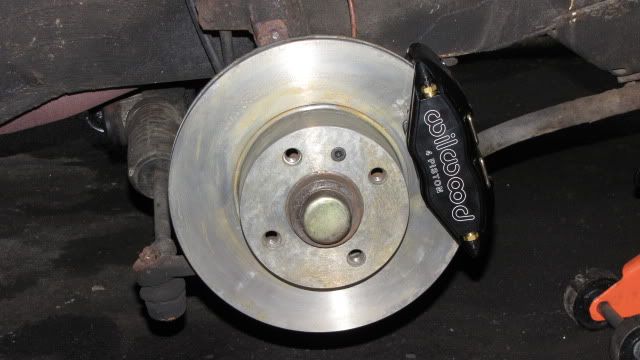
Fit everything together and then see how it looks - tighten up the disk to the hub and give it a spin. Check for any run out - any more then 0.10 then you got problems.
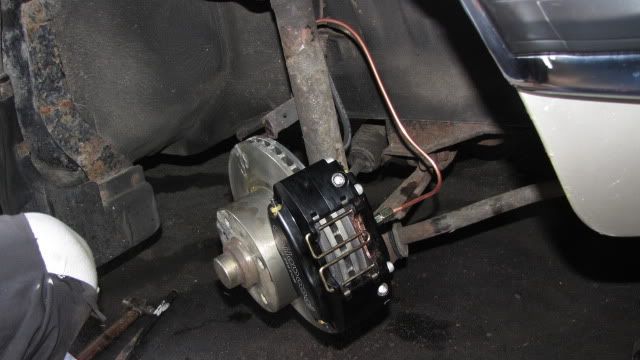
Hopefully you should have something that looks like this
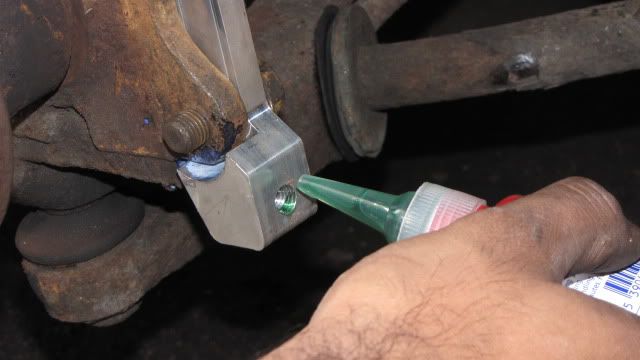
ok then if your happy about the fitting then apply thread lock and attach the caliper to the mount.
Copper grease on the back of the pads then fit accordingly.

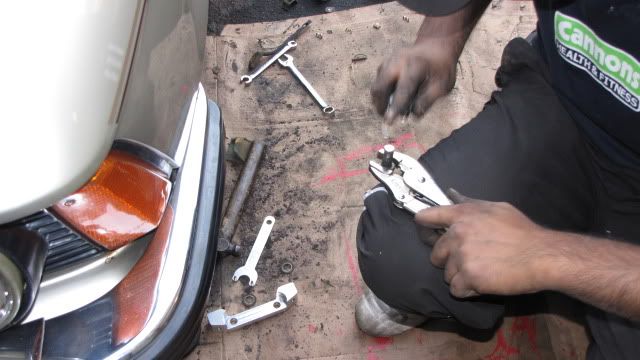
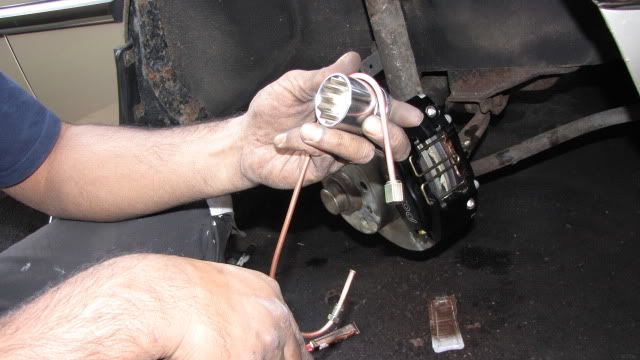
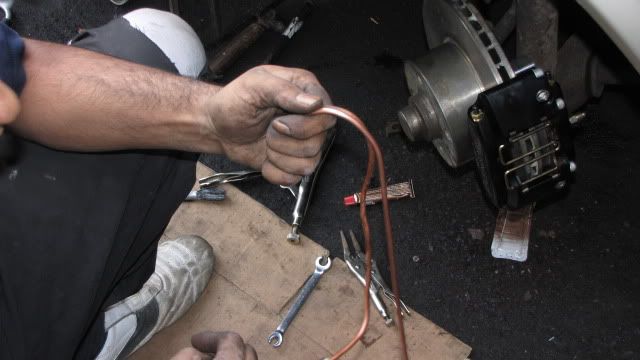
Now you get to have some fun with a brake pipe. You might need a few attempts to get this right but id do it on some scrap pipe to begin with.
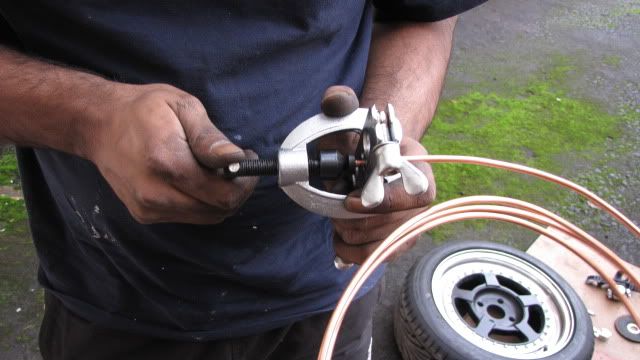
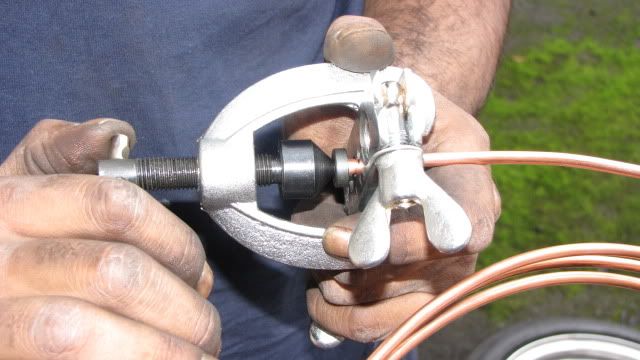
Double flare the female end, and then bend to shape - i used a big socket to stop the pipe from kinking.
Now make sure the brake pipe is tightened on properly and then double check both sides to make sure you havent missed anything.
This is good a time to have a break. the next job is bleeding the brakes.
I had a friend to help me but if you dont have one of these then you can get a one man brake bleeding kit - you can even buy one that does four pots!
i bled the outside top nipple then the inside top bleed nipples - start with the caliper the furthest away and then work on the nearer one.
Make sure your brake pedal is nice and firm and doesnt feel squishy.
Then its time for the all important test. i started off goin back n forth and then up n down the street and then check for leaks.
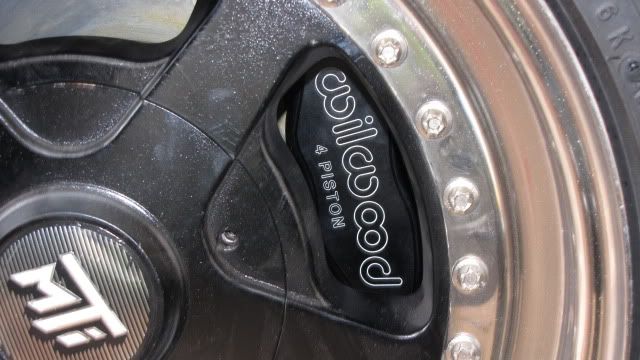
im very impressed with the brakes - i went round the block a couple of times but they will need bedding in, alrady though i can tell that they are much more better than the stock effort but then thats probably obvious.
naturally i may not have been able to be totally anal about the instructions but it isnt a difficult job - if you need to know anything in particular just ask.